
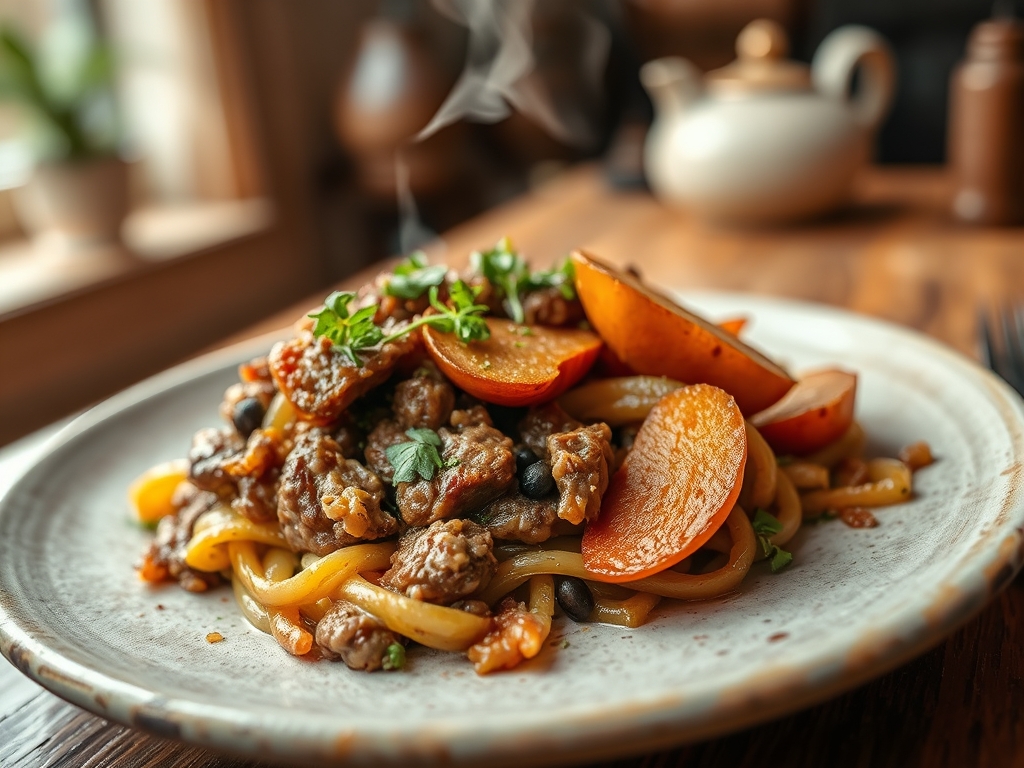
The smell of browning fat and toasted spices is the universal signal that autumn has officially claimed our kitchens. When the air turns crisp, we crave the weight of a heavy-bottomed skillet and the deep, savory satisfaction found in fall ground beef recipes. These dishes are the backbone of seasonal comfort; they are reliable, rich, and chemically designed to soothe.
Think of ground beef as your culinary canvas. It is a high-surface-area protein that excels at absorbing complex flavors while providing a luxurious mouthfeel through rendered fat. Whether we are talking about a velvety shepherd's pie or a piquant chili, the magic lies in the Maillard reaction. This is the chemical transformation where amino acids and reducing sugars rearrange under heat to create hundreds of different flavor compounds. It is why that first sear smells like heaven.
In this guide, we are moving beyond basic burgers. We are diving into eight sophisticated, soul-warming meals that utilize technical precision to elevate humble ingredients. From understanding moisture migration to mastering the art of the deglaze, we are going to treat your kitchen like the laboratory of deliciousness it truly is. Grab your favorite apron; it is time to cook.
The Gathers:
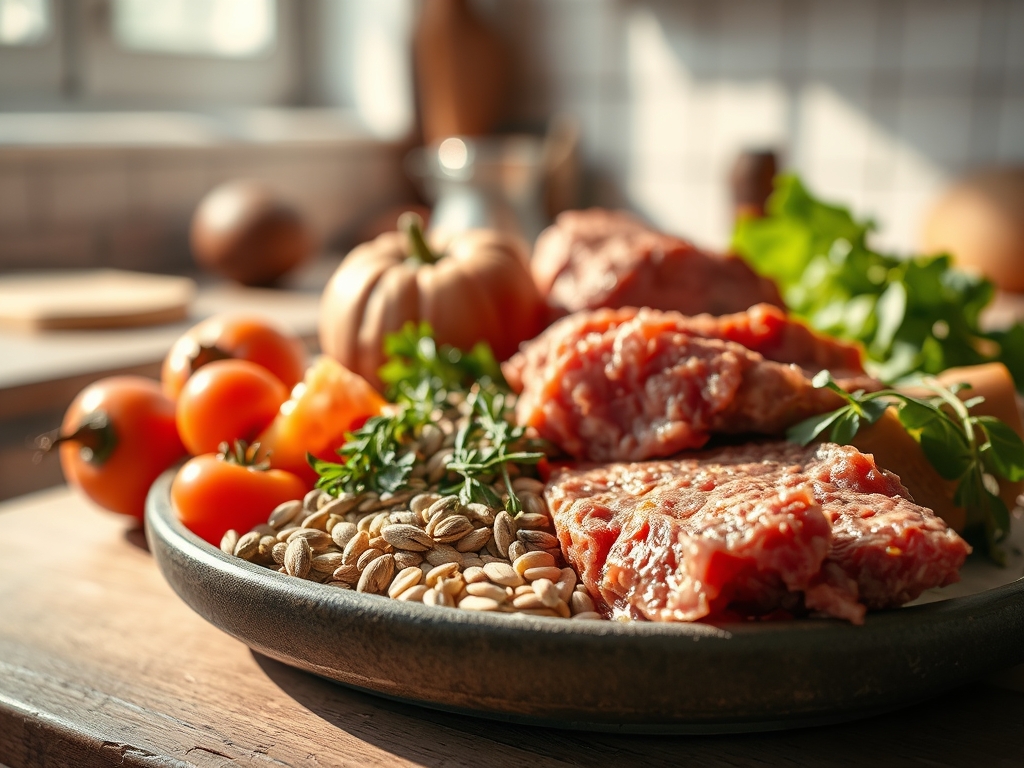
To execute these fall ground beef recipes with precision, your mise-en-place must be impeccable. Start with the beef itself. I recommend an 80/20 blend for most autumn dishes; the twenty percent fat content is vital for creating a viscous sauce and preventing the protein from becoming granular and dry. You will also need aromatics: yellow onions for their high sugar content, garlic for its pungent sulfur compounds, and carrots for structural sweetness.
Your toolkit is just as important as your ingredients. Ensure you have a heavy-bottomed skillet or a cast iron Dutch oven to maintain thermal mass. A microplane is essential for grating fresh nutmeg or garlic into a fine paste, and a sturdy wooden spoon or a specialized meat masher will help you break down the protein into uniform crumbles. For liquids, keep a high-quality beef bone broth on hand to infuse the meat with collagen and depth.
Smart Substitutions:
If you want to lighten the caloric load without sacrificing the umami profile, try a "blendarian" approach. Replace thirty percent of the beef with finely minced cremini mushrooms. Mushrooms contain high levels of glutamate, which mimics the savory "meatiness" of the beef while reducing total saturated fat. For a gluten-free thickener, swap traditional flour with a slurry of arrowroot powder or xantham gum to achieve that glossy, coat-the-back-of-the-spoon consistency in your stews and gravies.
The Clock
Efficiency in the kitchen is all about the "Chef's Flow." For these recipes, expect a preparation time of 20 minutes and a total cook time ranging from 30 to 60 minutes. The goal is to maximize flavor while minimizing active labor. Start by chopping all aromatics first; this allows their cellular walls to begin breaking down before they hit the heat.
The flow follows a logical sequence: render, aromatics, deglaze, and simmer. While the beef renders its fat, you can use those few minutes to measure out your dry spices. Once the liquid is added for the simmer phase, you have a 20-minute window to tidy your workspace or prep a side salad. This rhythmic approach ensures you aren't rushing when the heat is high, keeping your stress levels low and your results consistent.
The Masterclass
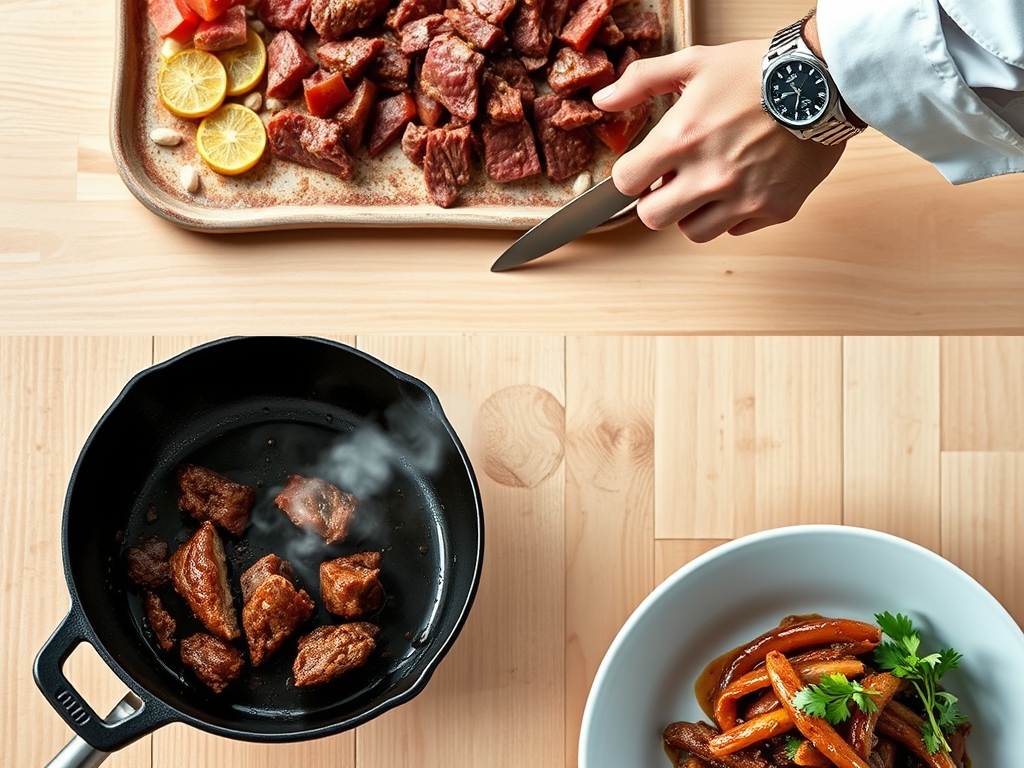
1. The High-Heat Sear
Place your heavy-bottomed skillet over medium-high heat until a drop of water dances and evaporates instantly. Add the beef in a single layer and do not touch it for at least three minutes. You want to achieve a deep, mahogany crust.
Pro Tip: This technique triggers the Maillard reaction. By resisting the urge to stir, you allow the surface moisture to evaporate, enabling the temperature to rise above 285 degrees Fahrenheit where complex flavor compounds are born.
2. Rendering and Removal
Once the beef has developed a crust, use your spoon to break it into smaller pieces. Continue cooking until the fat is fully rendered and the meat is no longer pink. Drain the excess fat into a heat-safe container, leaving about two tablespoons in the pan.
Pro Tip: Removing excess fat prevents your final sauce from becoming "broken" or greasy. The remaining fat acts as a lipid bridge, carrying fat-soluble flavors from spices throughout the entire dish.
3. Sweating the Aromatics
Add your onions, carrots, and celery to the reserved fat. Cook until the onions are translucent and slightly softened. This is the foundation of your flavor profile, often referred to as a mirepoix.
Pro Tip: Adding a pinch of salt here draws out moisture through osmosis. This prevents the vegetables from browning too quickly and instead allows them to steam in their own juices, concentrating their natural sugars.
4. Blooming the Spices
Clear a small circle in the center of the pan and add your tomato paste and dry spices, such as smoked paprika, cumin, or cinnamon. Stir them directly against the hot metal for 60 seconds until they become fragrant.
Pro Tip: This process is called blooming. Many flavor compounds in spices are fat-soluble; heating them in oil releases essential oils and volatile compounds that would otherwise remain trapped if simply boiled in liquid.
5. The Strategic Deglaze
Pour in a splash of red wine, balsamic vinegar, or beef broth. Use a wooden spoon to scrape up every bit of the brown film stuck to the bottom of the pan. This "fond" is concentrated flavor gold.
Pro Tip: Deglazing uses solvent action to incorporate the caramelized proteins back into the sauce. This adds an incredible depth of color and a savory "umami" punch to the finished meal.
6. Emulsifying the Sauce
Return the beef to the pan and add your primary liquid, such as crushed tomatoes or broth. Bring to a boil, then immediately reduce to a low simmer. Let the mixture bubble gently until the liquid has reduced and thickened.
Pro Tip: A slow simmer allows for collagen breakdown. Even in ground beef, there are connective tissues that soften over time, creating a silky, viscous texture that coats the palate perfectly.
7. The Final Seasoning
Just before serving, taste your creation. Add a splash of acid, like lemon juice or apple cider vinegar, and adjust the salt levels. This is the moment where the dish goes from "good" to "professional."
Pro Tip: Acid acts as a flavor brightener. It cuts through the heavy fats and proteins, providing a structural contrast that makes the savory notes pop without requiring additional salt.
8. Resting the Dish
Remove the pan from the heat and let it sit for five minutes before plating. This allows the internal temperatures to stabilize and the juices to redistribute through the protein.
Pro Tip: This accounts for thermal carryover. The residual heat continues to cook the center of the meat gently, ensuring the texture remains tender rather than tough and rubbery from over-boiling.
The Deep Dive
When we look at the macro nutrition of these fall ground beef recipes, we see a powerhouse of iron, B12, and high-quality protein. A standard serving provides roughly 25 to 30 grams of protein, making it exceptionally satiating. For those following specific lifestyles, these meals are highly adaptable. Keto followers can swap potatoes for mashed cauliflower; Vegan friends can utilize pea-protein crumbles and vegetable bouillon; and Gluten-Free diners can use tamari instead of soy sauce or cornstarch instead of flour.
The Fix-It:
- The Greasy Stew: If your sauce looks oily, use a cold metal spoon to skim the surface. The fat will cling to the cold metal for easy removal.
- The Bland Base: If the dish lacks "oomph," add a teaspoon of Worcestershire sauce or fish sauce. These are fermented umami bombs that add instant complexity.
- The Watery Mess: If your sauce won't thicken, take a half-cup of the liquid, whisk in a tablespoon of flour, and return it to the pan. This "slurry" method prevents lumps.
For meal prep, ground beef is a champion. To maintain "day-one" quality, reheat your portions on the stovetop with a tablespoon of water or broth. This creates a small amount of steam that re-hydrates the protein fibers, preventing the "rubbery" texture often caused by microwave radiation.
The Wrap-Up
Mastering fall ground beef recipes is about more than just filling a bowl; it is about understanding the chemistry of comfort. By focusing on the Maillard reaction, proper deglazing, and the balance of fats and acids, you transform a simple ingredient into a seasonal masterpiece. These eight meals are designed to warm your home and nourish your soul. So, fire up that burner, trust the science, and enjoy the most delicious season of the year.
The Kitchen Table
How do I prevent ground beef from steaming instead of browning?
Avoid overcrowding the pan. If you add too much meat at once, the temperature drops and moisture is trapped. Cook in batches to ensure the surface area allows for rapid evaporation and a proper Maillard sear.
Can I freeze these fall ground beef recipes?
Yes, ground beef dishes freeze beautifully. Ensure the meal is completely cooled before transferring to an airtight container. Leave an inch of "headspace" for expansion. Thaw overnight in the refrigerator before reheating on the stovetop for best results.
What is the best fat ratio for fall recipes?
An 80/20 or 85/15 ratio is ideal. The fat provides the necessary lipids to carry spices and creates a silky mouthfeel in sauces. Leaner blends, like 90/10, often result in a dry, crumbly texture in slow-cooked dishes.
Why does my ground beef taste "gamey"?
This often happens if the meat wasn't patted dry before searing or if it is past its prime. Ensure you buy fresh beef and use a high-heat sear to lock in savory flavors while neutralizing off-aromas through caramelization.
How do I make my beef sauces look glossy?
The secret is a "monter au beurre" or a slurry. Whisking in a small knob of cold butter at the very end of cooking creates a stable emulsion, giving your sauce a professional, mirror-like sheen and rich flavor.