
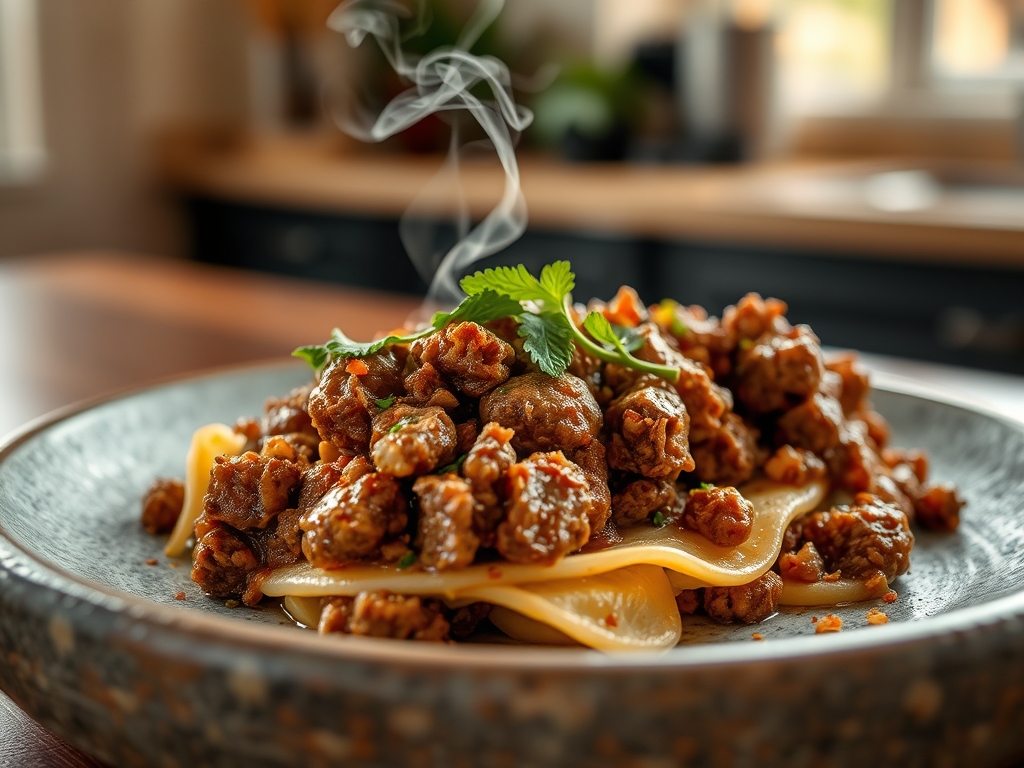
Picture this: you open the refrigerator at 6:00 PM on a Tuesday, and there it is. A grey, uninspiring container of yesterday's leftovers. Most people see a chore; I see a blank canvas for culinary architecture. Mastering cooked ground beef recipes is less about following a rigid manual and more about understanding the molecular potential of pre-rendered proteins. We are not just reheating meat; we are re-engineering texture and depth through strategic moisture management and flavor layering. By the time we are finished, that humble pound of beef will be transformed into a restaurant-quality foundation that tastes better than the day it was first browned.
The Gathers:
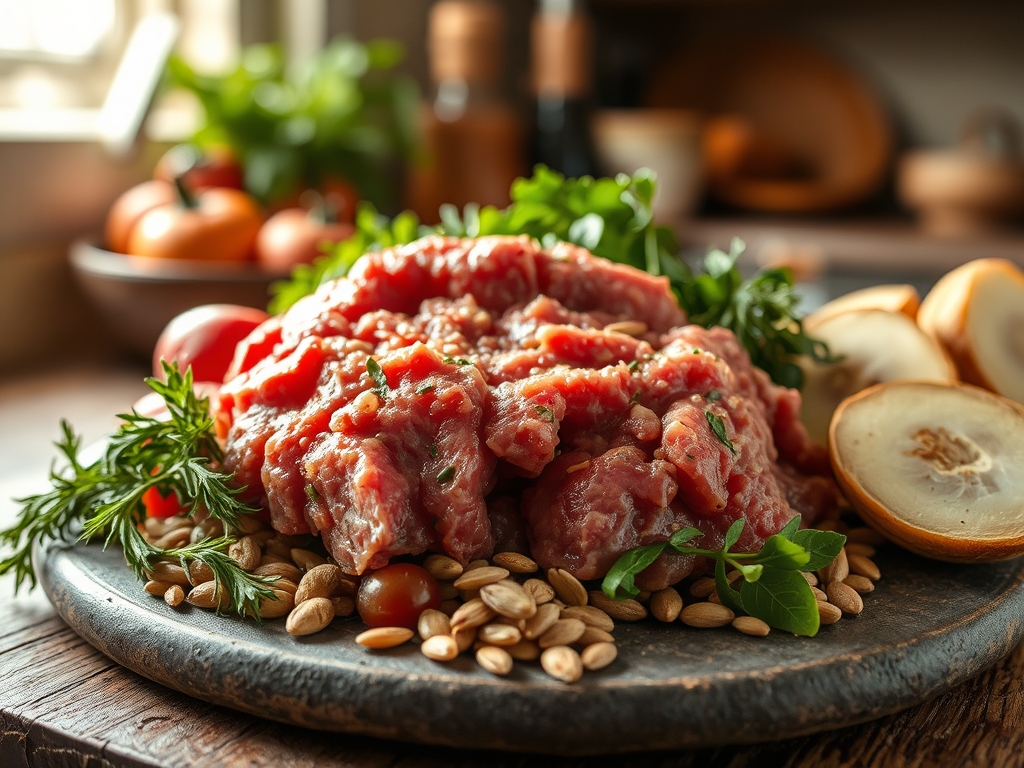
To elevate our pre-cooked base, we need a mise-en-place that balances acidity, fat, and umami. Gather your heavy-bottomed skillet; the heat retention of cast iron or heavy stainless steel is non-negotiable for achieving a secondary sear. You will need high-quality fats like grass-fed butter or avocado oil to replace the moisture lost during the initial cook. For aromatics, finely minced shallots and garlic are essential; use a microplane for the garlic to create a paste that integrates seamlessly into the fat.
Smart Substitutions: If you lack fresh aromatics, reach for fermented black garlic or a high-quality fish sauce. These provide a piquant depth that mimics hours of slow-simmering. For those avoiding dairy, a spoonful of tahini can add a viscous, nutty richness that replaces the mouthfeel of butter. Always keep a bottle of dry sherry or balsamic vinegar nearby to deglaze the pan; this lifts the caramelized proteins (fond) and re-incorporates them into your dish.
The Clock
Efficiency in the kitchen is governed by what I call the Chef's Flow. This is the art of overlapping tasks to ensure no heat is wasted. Prep time for these transformations is a mere 10 minutes, mostly focused on fine-tuning your aromatics and measuring liquids with a digital scale for precision. The actual cook time ranges from 8 to 12 minutes.
The goal is a rapid-fire execution. While your skillet preheats, you organize your "finishers" like fresh herbs or citrus zest. This ensures that the beef spends the minimum amount of time under direct heat, preventing the proteins from becoming "rubbery" or over-coagulated. We are aiming for a flash-infusion rather than a secondary long-form cook.
The Masterclass
1. The Thermal Reset
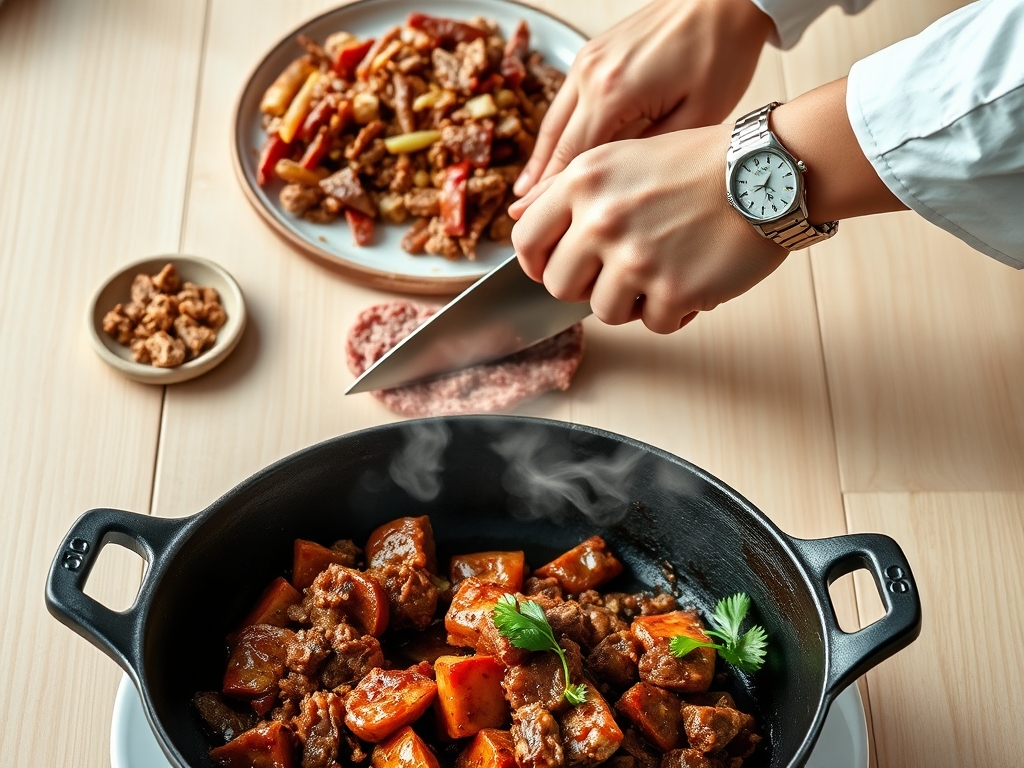
Place your cold, pre-cooked beef on a clean surface and use a bench scraper to break it into uniform, pea-sized crumbles. This increases the surface area, allowing for even heat distribution. Add a tablespoon of neutral oil to your skillet and wait for the first wisps of smoke.
Pro Tip: This stage utilizes thermal conductivity. By breaking the meat into smaller pieces before hitting the pan, you ensure the center of each morsel reaches safe temperatures before the exterior overcooks and becomes dehydrated.
2. Deglazing for Depth
Once the meat begins to sizzle and release its remaining fats, pour in 60ml of beef bone broth or dry white wine. Use a wooden spoon or tongs to scrape the bottom of the pan vigorously. This process captures the "fond," which is the concentrated essence of the meat's original Maillard reaction.
Pro Tip: This is known as deglazing. The liquid acts as a solvent, dissolving the caramelized protein sugars and creating a savory glaze that coats every grain of beef, effectively "re-hydrating" the muscle fibers.
3. Emulsifying the Sauce
Lower the heat and add a knob of cold butter or a splash of heavy cream. Stir constantly using a saucier whisk or a silicone spatula. You are looking for the liquid to thicken into a glossy, cohesive coating that clings to the beef.
Pro Tip: You are creating a stable emulsion. The fats in the butter bind with the water-based broth, creating a luxurious mouthfeel that masks the fact that the beef was cooked previously. This prevents the "dry crumble" texture common in leftovers.
4. Aerating with Aromatics
In the final sixty seconds, toss in your fresh herbs (parsley, chives, or cilantro) and a squeeze of fresh lime or lemon juice. Toss the mixture quickly to distribute the oils from the herbs without wilting them into oblivion.
Pro Tip: This step involves volatile organic compounds. High heat destroys the delicate aromatic oils in fresh herbs. By adding them at the very end, you ensure the scent molecules reach the diner's nose rather than evaporating into the vent hood.
The Deep Dive
When we look at the macro profile of cooked ground beef recipes, we are dealing with a high-protein, moderate-fat powerhouse. A standard 4-ounce serving provides roughly 25g of protein. To keep this Keto-friendly, focus on healthy fats like tallow or ghee during the reheating process. For a Vegan swap, you can apply these exact same deglazing and emulsifying techniques to crumbled tempeh or pea-protein crumbles; just increase the umami components like soy sauce or nutritional yeast.
The Fix-It: Common Pitfalls
- The Meat is Gritty: This happens when the beef is overheated without enough fat. Fix: Stir in a tablespoon of Greek yogurt or sour cream off the heat to add instant moisture.
- The Flavor is Flat: You likely missed the acidity. Fix: Add a teaspoon of apple cider vinegar or a dash of hot sauce to brighten the heavy fats.
- The Texture is Mushy: You added too much liquid too fast. Fix: Crank the heat and let the liquid reduce until it reaches a syrupy consistency, then toss to coat.
Meal Prep Science: To maintain "day-one" quality, store your pre-cooked beef in airtight glass containers with a small amount of its original cooking juices. This creates a micro-environment of humidity that prevents the proteins from oxidizing and developing that "reheated" off-flavor.
The Wrap-Up
Transforming pre-cooked ground beef is the ultimate kitchen hack for the modern, busy gourmet. By focusing on the science of emulsification and the strategic use of high-quality fats and acids, you turn a basic ingredient into a culinary masterpiece. Don't be afraid to experiment with your aromatics or use your heavy-bottomed skillet to push the boundaries of caramelization. Cooking is a lab, and you are the lead scientist; now go make something incredible!
The Kitchen Table
Can I freeze cooked ground beef recipes?
Yes, you can freeze it for up to three months. Ensure it is completely cooled before sealing in a vacuum-bag to prevent ice crystals. This preservation method maintains the structural integrity of the protein fibers for future quick meals.
How do I prevent "warmed-over flavor" in beef?
Warmed-over flavor is caused by lipid oxidation. To prevent this, use antioxidant-rich seasonings like rosemary or oregano during the initial cook. When reheating, adding a fresh splash of acidity like lemon juice effectively neutralizes these metallic off-notes.
What is the best way to reheat beef without drying it out?
Use the "low and slow" method in a covered skillet with two tablespoons of water or broth. This creates a steam-saturated environment that gently penetrates the meat, ensuring the internal temperature rises without evaporating the essential cellular moisture.
Is it safe to reheat ground beef multiple times?
It is technically safe if cooled rapidly, but each reheat cycle degrades the texture. The proteins tighten and expel moisture, leading to a dry, grainy mouthfeel. Aim to reheat only the portion you intend to consume immediately.