
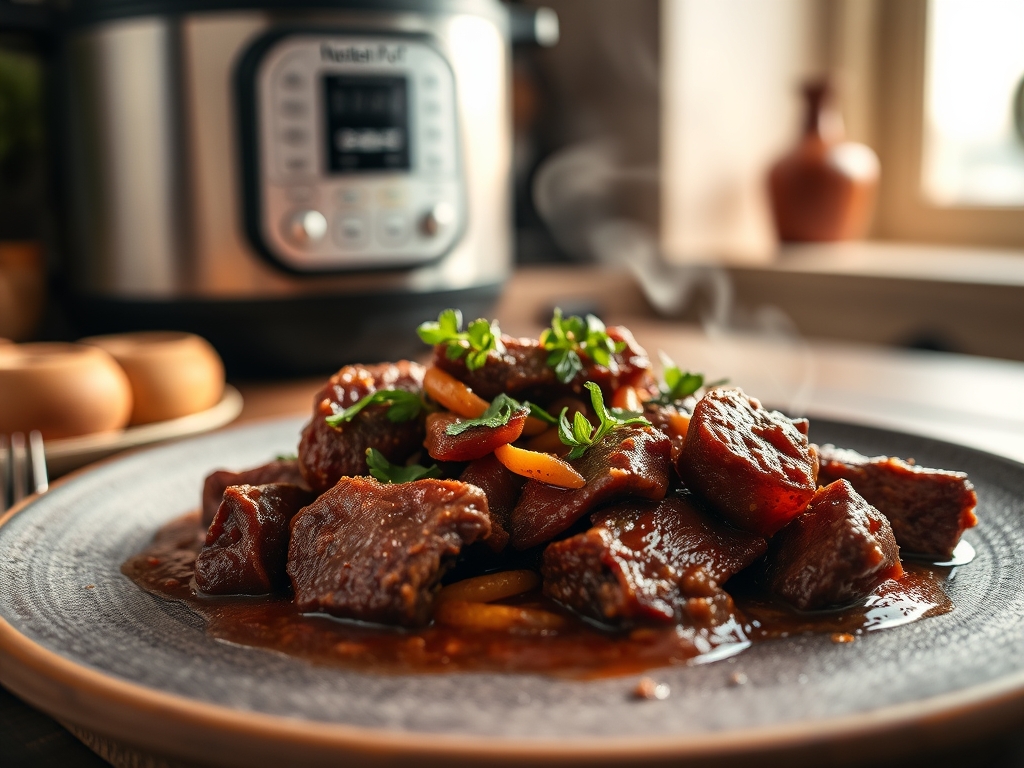
Imagine the scent of slow-simmered oregano and toasted garlic wafting through your kitchen in a fraction of the traditional time. We are chasing that perfect, thin-sliced, juice-dripping sandwich that defines Chicago soul. When searching for the best italian beef recipes instant pot versions often fall flat because they lack the depth of a long braise. However, by mastering the high-pressure environment of your multicooker, you can achieve a tender, piquant result that rivals any windy city deli. We are going to transform a tough chuck roast into a succulent masterpiece using science, a little wit, and the magic of a sealed chamber.
The secret lies in the pressurized breakdown of connective tissue. In a standard oven, this takes eight hours; in the Instant Pot, we are forcing moisture into the muscle fibers in under sixty minutes. This is not just about convenience. It is about flavor density. We are going to ensure every strand of beef is infused with a rich, salty jus that makes your taste buds sing. Grab your favorite apron and let's get into the molecular details of why this works.
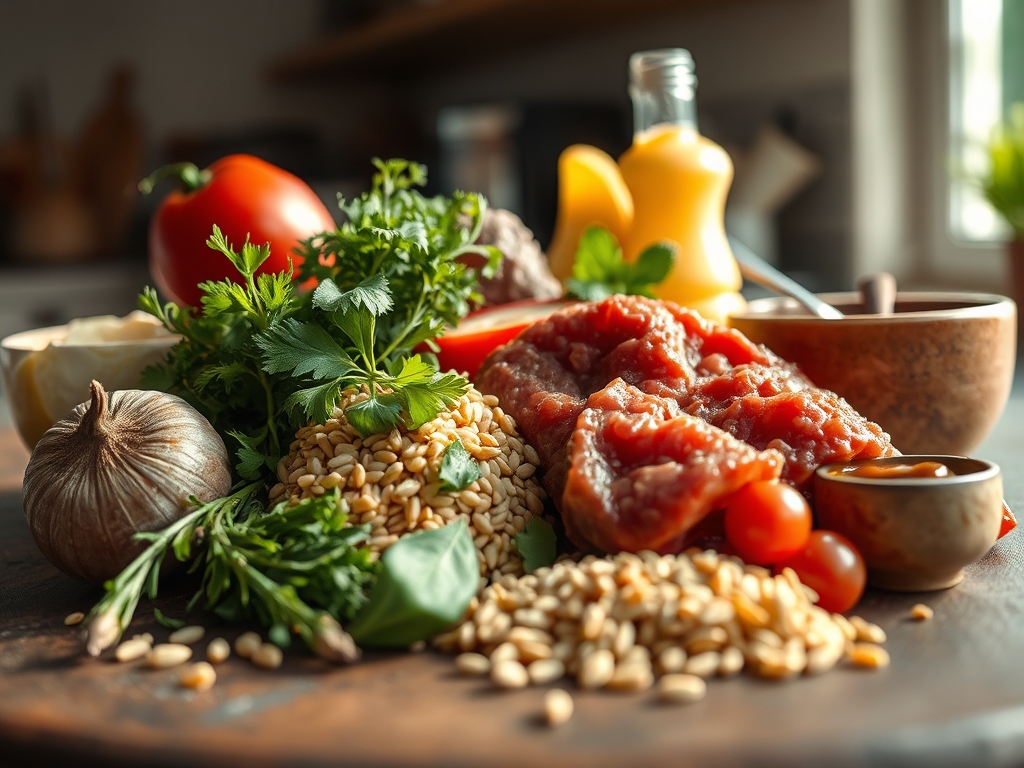
The Gathers:
Setting up your mise-en-place is the difference between a chaotic kitchen and a professional workflow. You will need a high-quality digital scale to measure your beef, as weight determines your precise timing. Start with a four-pound boneless chuck roast. Look for heavy intramuscular marbling; this fat will render into the sauce, creating a silky mouthfeel. You will also need sixteen ounces of piquant pepperoncini peppers with their brine, a quart of low-sodium beef stock, and a dry spice blend consisting of dried oregano, basil, garlic powder, onion powder, and a touch of red pepper flakes.
For your "Smart Substitutions," consider the acidity. If you find pepperoncini too aggressive, swap half the volume with mild banana peppers. If you are out of beef stock, a high-quality bone broth provides a more viscous texture due to the higher gelatin content. Use a microplane to zest a bit of fresh garlic into the pot at the very end to provide a bright, raw aromatic punch that balances the deep, cooked flavors.
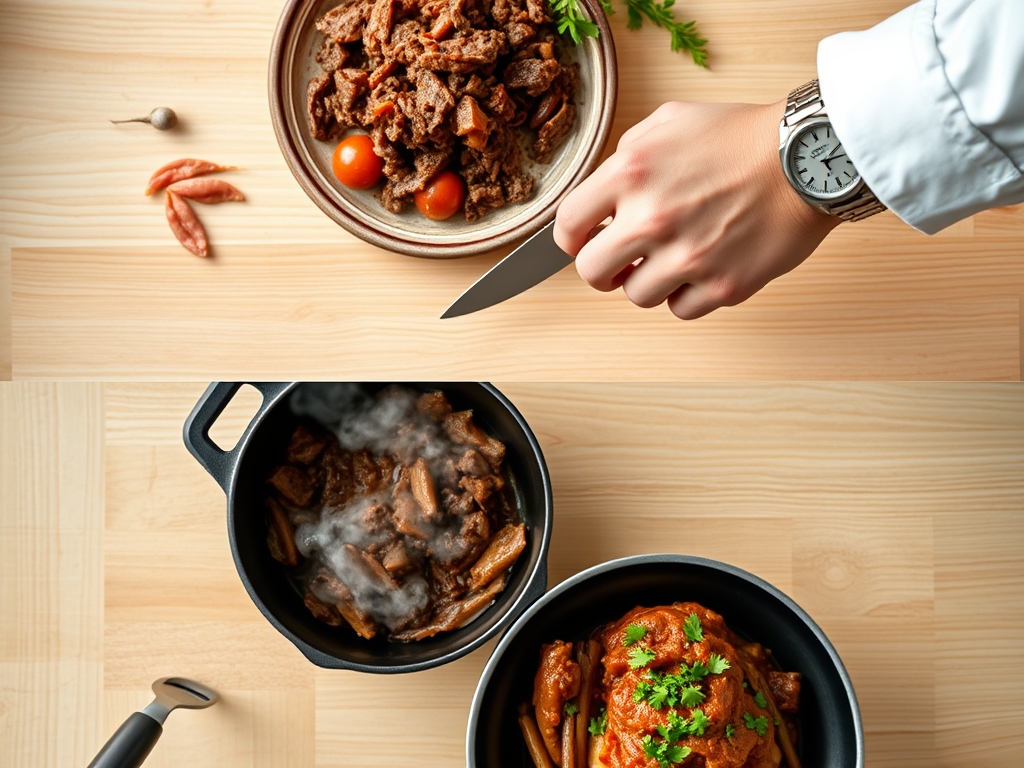
The Clock:
The "Chef's Flow" is all about maximizing efficiency while the machine does the heavy lifting. Your active prep time is a mere fifteen minutes. This includes trimming excess external fat with a sharp boneless knife and searing the meat. The pressurized cook time is sixty minutes, followed by a mandatory fifteen-minute natural pressure release. Total time from counter to table is roughly ninety minutes. While the beef is under pressure, use that window to prepare your rolls and slice your giardiniera. This ensures that the moment the lid opens, you are ready to assemble.
The Masterclass:
1. The Maillard Sear
Set your Instant Pot to the "Saute" function and wait for the "Hot" indicator. Pat your beef dry with paper towels; moisture is the enemy of browning. Use tongs to sear every side of the roast until a deep brown crust forms.
Pro Tip: This is the Maillard Reaction. By browning the surface, you are creating hundreds of different flavor compounds that cannot be produced through boiling alone. This step ensures your jus has a complex, savory backbone.
2. Deglaze the Foundation
Remove the beef and pour in a splash of your beef stock. Use a wooden spoon or a bench scraper to aggressively scrape the brown bits (the fond) off the bottom of the stainless steel liner.
Pro Tip: If you do not deglaze properly, the "Burn" notice will trigger. Beyond safety, those caramelized bits contain concentrated umami that seasons the entire liquid base.
3. The Pressurized Infusion
Place the beef back into the pot. Add the remaining stock, the pepperoncini with their brine, and your dry spices. Lock the lid and set to "High Pressure" for sixty minutes.
Pro Tip: Under high pressure, the boiling point of water increases. This allows the collagen in the tough chuck roast to convert into gelatin much faster than at sea-level atmospheric pressure, resulting in "melt-in-your-mouth" texture.
4. The Natural Release
Once the timer beeps, do not touch the steam valve. Allow the pot to sit undisturbed for fifteen minutes.
Pro Tip: This allows for thermal carryover. A sudden drop in pressure causes the muscle fibers to seize and squeeze out their juices. A slow release allows the fibers to relax and reabsorb the seasoned liquid, keeping the meat succulent.
5. The Shred and Soak
Remove the beef to a cutting board. Use two forks to shred the meat against the grain. Return the shredded beef to the liquid in the pot and let it sit on the "Keep Warm" setting for ten minutes.
Pro Tip: This is the Equilibrium Phase. The shredded surface area is now maximized, allowing the meat to act like a sponge, soaking up the salt and spice from the jus.
6. The Jus Refinement
If your jus feels too thin, use a saucier to reduce a portion of the liquid on the stovetop by twenty percent before adding it back.
Pro Tip: Reducing the liquid concentrates the solutes. This increases the viscosity and ensures the flavor is "bold" enough to stand up to a thick hoagie roll.
7. The Final Assembly
Toast your rolls under a broiler until the edges are charred. Use a slotted spoon to pile the beef high, then dip the entire sandwich into the liquid (the "Chicago Dip") if you are feeling brave.
Pro Tip: Toasting the bread creates a hydrophobic barrier. This prevents the bread from turning into mush the second it touches the piquant jus.
The Deep Dive:
From a nutritional standpoint, a serving of this beef is high in protein and iron, though the sodium content can be significant due to the brine and stock. To keep it Keto-friendly, serve the beef in a bowl over cauliflower rice or simply topped with extra provolone cheese. For a Vegan alternative, use large chunks of king oyster mushrooms or seitan, though you should reduce the pressure cooking time to fifteen minutes to avoid total structural collapse.
If you encounter pitfalls, here is "The Fix-It" guide. If your meat is tough, it simply needs more time; put it back in for another ten minutes. If the sauce is too salty, add a peeled, halved potato for ten minutes to absorb excess sodium, then discard the potato. If the flavor is dull, add a teaspoon of red wine vinegar or lemon juice; acidity acts as a flavor "highlighter." For meal prep, store the beef in its liquid. When reheating, use a gentle simmer on the stove. This prevents the proteins from over-coagulating and becoming rubbery in the microwave.
The Wrap-Up:
You have just unlocked the secret to professional-grade deli meat in your own kitchen. By understanding the relationship between pressure, collagen, and the Maillard reaction, you have elevated a simple chuck roast into a culinary event. These italian beef recipes instant pot hacks are designed to give you maximum flavor with minimal stress. Now, call your friends, toast some rolls, and get ready to be the hero of the dinner table. You have the science, the tools, and the technique; go make something delicious.
The Kitchen Table:
Can I use a different cut of meat?
Yes, but stick to tough, fatty cuts like bottom round or rump roast. Leaner cuts like sirloin will become dry and stringy under high pressure because they lack the necessary connective tissue to create gelatin.
How do I make the jus clearer?
Strain the liquid through a fine-mesh sieve after cooking. If you want it truly pristine, let the liquid cool in the fridge, skim off the solidified fat cap, and then reheat the remaining concentrated broth.
Is the pepperoncini brine necessary?
Absolutely. The brine provides essential acidity and salt that tenderizes the beef during the cook. Without it, the flavor profile will be flat and lack the signature "zing" of a true Chicago-style beef.
How long does it stay fresh?
The beef stays delicious for up to four days in the refrigerator when submerged in its jus. In fact, it often tastes better on day two because the spices have more time to deeply infuse the meat.