
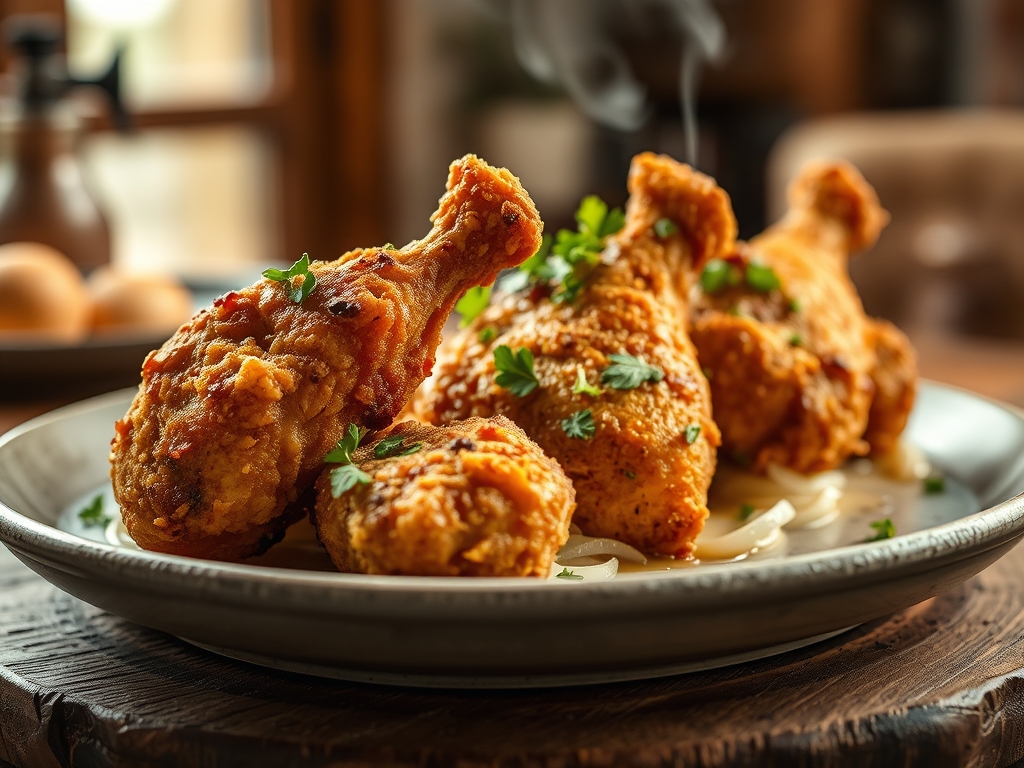
Listen to that sound. It is the unmistakable, rhythmic crunch of a perfectly golden crust yielding to a succulent, steaming interior. We are chasing the holy grail of weeknight dinners; the kind of texture usually reserved for cast iron vats of bubbling lard, but achieved entirely within the dry heat of your oven. When scouring the internet for baked fried chicken recipes, you often find soggy promises or dry, dusty disappointments. Not today. We are leveraging molecular physics and thermal engineering to create a shatteringly crisp exterior that rivals any roadside shack. This is not just a meal; it is a structural masterpiece designed to satisfy your deepest comfort food cravings without the heavy cleanup of a deep fryer. By mastering the art of moisture management and lipid distribution, we will transform humble poultry into a high-fidelity sensory experience. Grab your apron and clear your counter. We are about to redefine what your oven is capable of producing.
The Gathers:
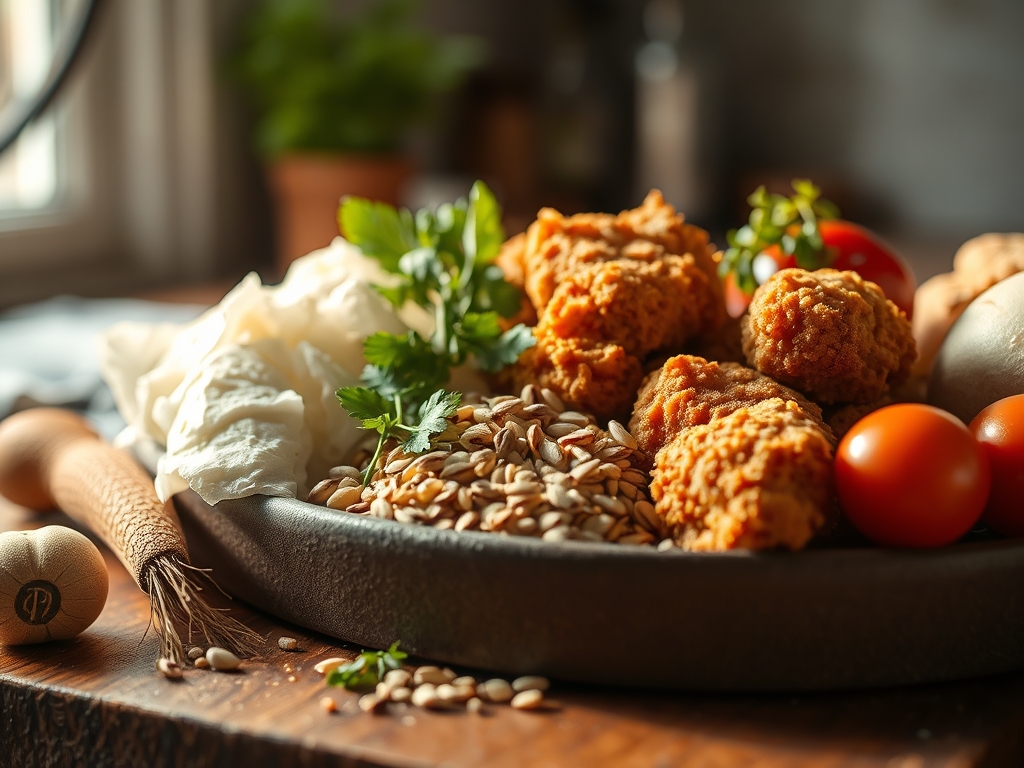
To achieve a professional grade result, your mise-en-place must be precise. We start with two pounds of bone-in, skin-on chicken thighs. The bone acts as a thermal conductor, ensuring the meat remains succulent while the skin provides the necessary fats to render and crisp the coating. You will need a viscous binder; specifically, one cup of full-fat buttermilk seasoned with a piquant dash of hot sauce and a teaspoon of kosher salt. This acidic bath initiates proteolysis, breaking down tough protein strands for a tender bite.
For the dry dredge, we utilize a blend of panko breadcrumbs and fine cornmeal. Panko provides a high surface area for maximum crunch, while cornmeal adds structural integrity. You will also need smoked paprika, garlic powder, onion powder, and a generous amount of freshly cracked black pepper. To ensure the coating adheres, we incorporate three tablespoons of melted clarified butter directly into the crumbs.
Smart Substitutions: If you are avoiding dairy, a mixture of unsweetened almond milk and a tablespoon of lemon juice mimics the acidity of buttermilk. For a gluten-free variation, crushed pork rinds or almond flour blended with cornstarch offers a comparable crunch. Always use a digital scale to measure your dry ingredients for consistency; volume measurements are notoriously unreliable in high-precision baking.
The Clock
Efficiency in the kitchen is about "Chef's Flow," the logical progression of tasks that minimizes downtime. Total prep time is 20 minutes, plus a mandatory 30-minute marinade window. The active cook time is 35 to 40 minutes at high heat.
Begin by brining your chicken; this is your "passive" phase. While the chemistry happens, organize your dredging station. Preheating your oven is non-negotiable. It must reach a stable 425 degrees Fahrenheit before the chicken enters. Use this time to clean your bench scraper and prep your side dishes. By the time the oven chime sounds, your chicken should be coated and ready for the rack.
The Masterclass
1. The Acidic Soak
Submerge the chicken pieces in the buttermilk mixture. Ensure every crevice is coated to allow the lactic acid to penetrate the muscle fibers.
Pro Tip: This stage utilizes enzymatic tenderization. The low pH of the buttermilk weakens the collagen sheath around the muscle fibers, preventing the meat from seizing up and becoming "rubbery" during high-heat exposure.
2. The Aerated Dredge
Whisk your dry ingredients in a shallow bowl to aerate the mixture. This prevents the coating from becoming a dense, heavy paste. Dredge each piece of chicken, pressing the crumbs firmly into the skin.
Pro Tip: Creating a "dry-wet-dry" barrier is essential for the Maillard reaction. The sugars and amino acids in the coating react under heat to produce that deep brown color and complex, savory flavor profile.
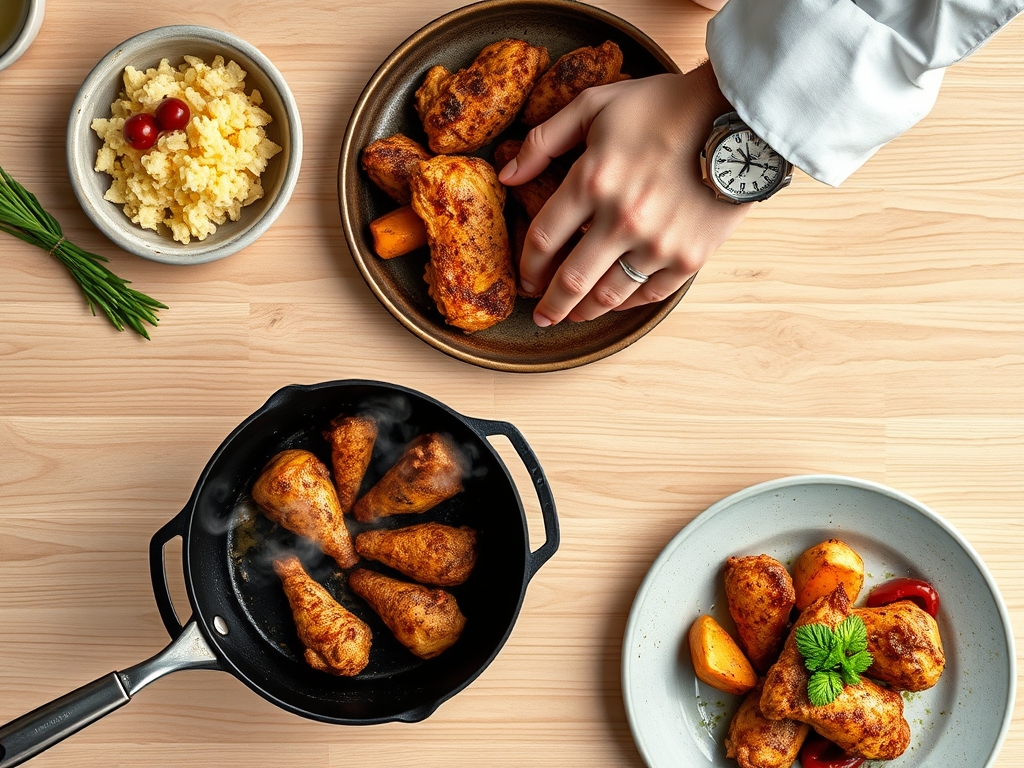
3. The Elevated Roast
Place a wire cooling rack inside a rimmed baking sheet. Arrange the chicken on the rack, ensuring no pieces are touching. This allows for 360-degree airflow.
Pro Tip: This setup facilitates convection. Without the rack, the bottom of the chicken would sit in its own juices, leading to "steaming" rather than "frying." Elevation ensures the underside remains as crisp as the top.
4. The Thermal Finish
Bake until the internal temperature reaches 165 degrees Fahrenheit. Use a digital probe thermometer for accuracy. Let the chicken rest on the rack for five minutes before serving.
Pro Tip: Thermal carryover is the phenomenon where the internal temperature continues to rise after removal from the heat. Resting allows the internal juices to redistribute, ensuring the first bite is moist rather than a localized puddle of liquid.
The Deep Dive
From a nutritional standpoint, this method significantly reduces the lipid load compared to traditional frying. You are looking at approximately 320 calories per thigh with 18 grams of fat, versus the 500+ calories found in deep-fried alternatives.
Dietary Swaps: For a Keto version, replace the breadcrumbs with a mix of Parmesan cheese and flaxseed meal. For a Vegan approach, use firm cauliflower florets or oyster mushrooms dipped in a "flax egg" and coated in nutritional yeast and gluten-free crumbs.
The Fix-It:
- Soggy Bottoms: Your oven temperature was likely too low. Ensure you use an oven thermometer to verify the heat; many home ovens run 25 degrees cold.
- Coating Falling Off: The chicken was too wet before the dredge. Pat the chicken dry with paper towels before the initial buttermilk dip.
- Burnt Spices: If the crust is darkening too fast, tent the tray loosely with foil. This blocks direct radiant heat while allowing the interior to finish cooking.
Meal Prep & Reheating: To maintain "day-one" quality, never use a microwave. Reheat leftovers in an air fryer at 350 degrees for 4 minutes or in a toaster oven. This restores the crystalline structure of the crust by evaporating any migrated moisture from the meat.
The Wrap-Up
You have officially graduated from the school of soggy chicken. By understanding the interplay of acidity, airflow, and lipid distribution, you have unlocked a version of baked fried chicken recipes that actually delivers on its promise. This dish is a testament to the fact that "healthy" doesn't have to mean "bland." Serve this with a crisp slaw or a tangy hot honey drizzle, and watch as your guests marvel at the sheer audacity of an oven-baked crust this loud. You have the tools, you have the science, and now you have the best seat in the house.
The Kitchen Table
Why is my baked chicken not crispy?
Lack of airflow is usually the culprit. Always use a wire rack over a baking sheet to allow heat to circulate under the meat. Additionally, ensure your oven is fully preheated to at least 425 degrees Fahrenheit to trigger the Maillard reaction.
Can I use chicken breasts instead of thighs?
Yes, but monitor the internal temperature closely. Breasts lack the fat and connective tissue of thighs, making them prone to drying out. Pull them at 160 degrees Fahrenheit and let carryover cooking bring them to the safe 165-degree mark.
How do I get the coating to stick?
The "dry-wet-dry" method is king. Pat the raw chicken dry first, dip in the buttermilk binder, then press firmly into the breadcrumb mixture. Letting the coated chicken rest for ten minutes before baking helps the crust hydrate and adhere.
Is buttermilk necessary for baked fried chicken?
Buttermilk provides acidity for tenderization and a thick consistency that helps the breading stick. If you lack buttermilk, whisk plain yogurt with a splash of milk or use milk mixed with one tablespoon of white vinegar or lemon juice.