
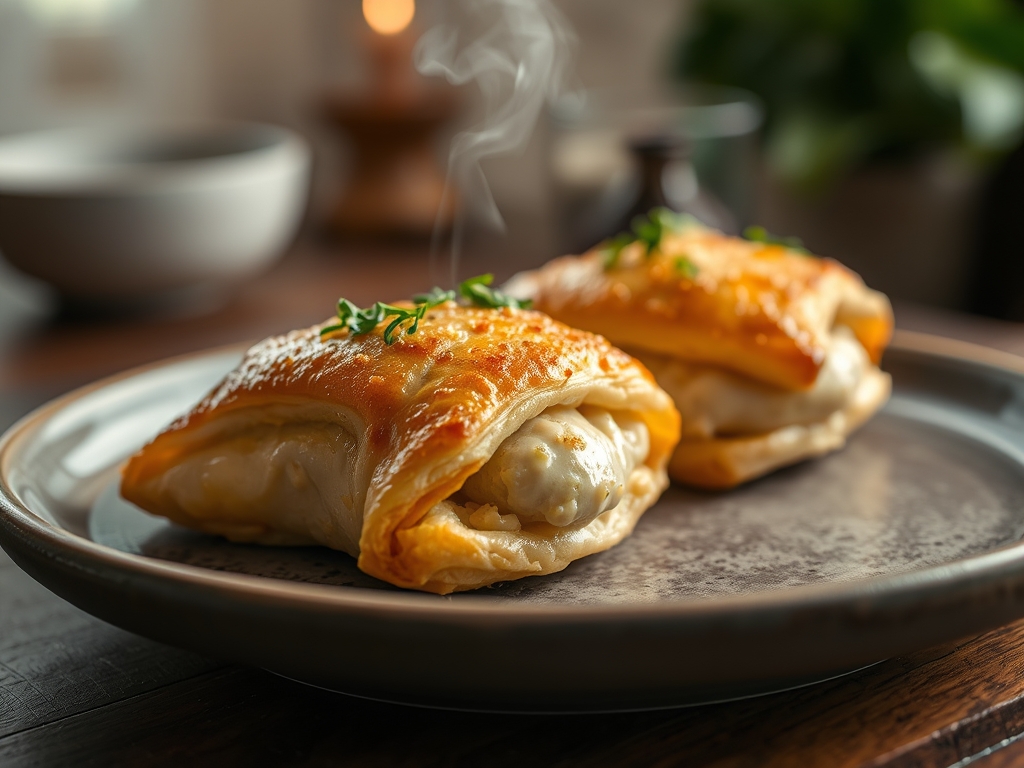
Picture this: the oven door swings open and a cloud of buttery, yeast-scented steam hits your face. You are looking at a tray of golden-brown crescents, their edges shattered into a thousand delicate flakes, cradling a savory, succulent poultry center. Mastering crescent roll chicken recipes is not just about convenience; it is a tactical maneuver in the art of the weeknight win. We are taking that iconic blue tube and elevating it with professional techniques that turn a simple pantry staple into a gourmet vessel. Whether you are hosting a last-minute brunch or just trying to survive a Tuesday, these seven hacks will transform your kitchen into a high-end bistro.
The Gathers:
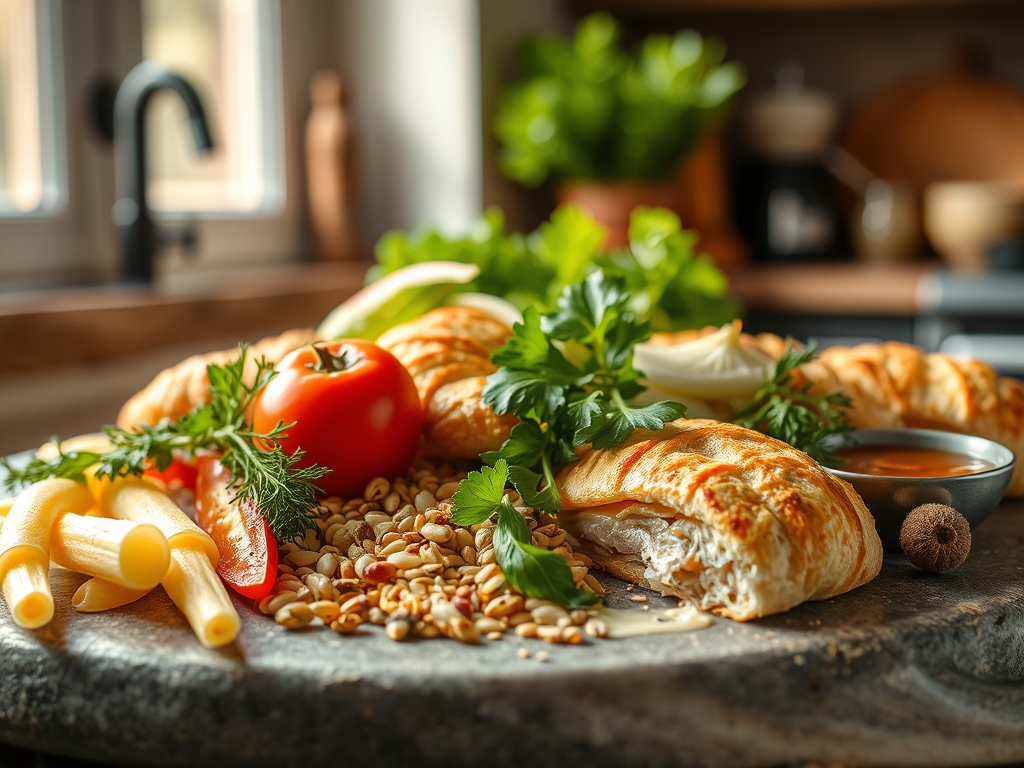
Before we ignite the burners, we must organize our mise-en-place. Use a bench scraper to clear your workstation and prepare your ingredients with precision. You will need high-quality refrigerated crescent dough, which relies on laminated fat layers to achieve its signature lift. For the protein, reach for rotisserie chicken or poached breasts that have been shredded to increase the surface area for sauce adhesion.
The aromatics are non-negotiable. Gather fresh scallions, garlic, and perhaps a sprig of thyme. For the creamy binder, a high-fat cream cheese or a viscous Greek yogurt works best to prevent the dough from becoming soggy. You should also have a microplane ready to zest lemon or grate hard cheeses like Parmesan, which adds a piquant punch to the filling.
Smart Substitutions: If you are out of traditional chicken, use tinned salmon or even chickpeas for a vegetarian twist. To lighten the profile, swap heavy cream for a splash of coconut milk or a dollop of silken tofu. If you want a deeper flavor profile, infuse your melted butter wash with smoked paprika or dried oregano before brushing it onto the dough.
The Clock: Mastering the Chef's Flow
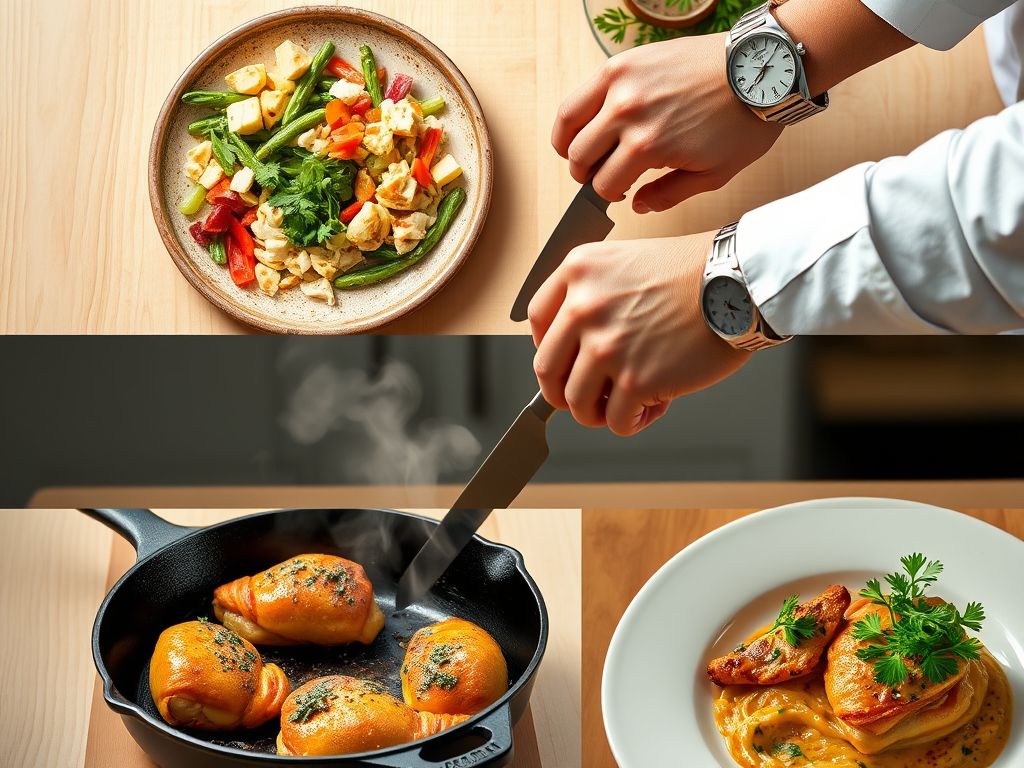
Efficiency in the kitchen is about managing your "Chef's Flow." The total active prep time for these hacks is approximately 15 minutes, with a bake time of 12 to 18 minutes depending on your oven's calibration. Start by preheating your oven to 375 degrees Fahrenheit. While the oven reaches its thermal equilibrium, assemble your fillings.
The goal is to have the tray entering the oven just as the timer hits the fifteen-minute mark. This ensures the dough remains chilled; if the fat in the dough melts before it hits the high heat of the oven, you lose the steam-driven expansion that creates those airy layers. Use a digital scale to ensure each portion is uniform, which guarantees that every piece finishes cooking at the exact same moment.
The Masterclass:
1. The Classic Savory Braid
Lay your dough flat on a parchment-lined sheet. Use a bench scraper to cut one-inch strips along the sides, leaving the center intact. Pile your chicken and cream cheese mixture down the middle and fold the strips over in an alternating pattern.
Pro Tip: This technique utilizes thermal carryover. By braiding the dough, you create a dense core that retains heat, allowing the chicken to stay moist while the exterior reaches a perfect golden hue.
2. The Buffalo Chicken Ring
Arrange the triangles in a circle with the wide bases overlapping in the center. Fill the ring with chicken tossed in a piquant buffalo sauce and blue cheese crumbles. Fold the points over the filling and tuck them under the center.
Pro Tip: The vinegar in the buffalo sauce acts as a tenderizer for the chicken proteins. This is known as enzymatic browning assistance; the sugars in the sauce will caramelize quickly, providing a complex flavor profile.
3. Pesto Poultry Pinwheels
Roll the dough into one large rectangle, pressing the seams together. Spread a thin layer of pesto using an offset spatula and sprinkle with finely shredded chicken. Roll it up tightly and slice into rounds.
Pro Tip: Use a sharp chef's knife or even unflavored dental floss to slice the roll. This prevents compressing the delicate air pockets in the dough, ensuring the pinwheels aerate properly during the bake.
4. Creamy Chicken Hand Pies
Cut the dough into squares instead of triangles. Place a dollop of chicken pot pie filling—chicken, peas, and carrots in a thick gravy—in the center. Fold over and crimp the edges with a fork.
Pro Tip: The crimping creates a mechanical seal that traps steam. This steam builds pressure inside the pocket, gently poaching the vegetables while the pastry crust fries in its own rendered fats.
5. Garlic Butter Chicken Bundles
Wrap individual chunks of seasoned chicken and a cube of mozzarella inside a single crescent triangle, pinching all edges to form a ball. Brush with a mixture of melted butter and minced garlic.
Pro Tip: The fat in the butter wash initiates the Maillard reaction earlier in the baking process. This results in a deeper, nuttier crust and a more aromatic exterior.
6. BBQ Chicken "Cigars"
Stretch the dough triangles out slightly. Fill with BBQ chicken and red onions, then roll them tightly from the wide end to the tip. These should be long and slender.
Pro Tip: The high sugar content in BBQ sauce can burn. By rolling them into "cigars," you protect the filling with multiple layers of dough, allowing the interior to infuse without the exterior scorching.
7. The Chicken and Jalapeno Popper Roll
Combine shredded chicken, cream cheese, and diced jalapenos. Place the mixture at the wide end of the triangle and roll up normally. Top with a slice of cheddar before baking.
Pro Tip: Capsaicin is fat-soluble. The high fat content in the crescent dough and cream cheese mellows the heat of the jalapeno, creating a balanced, viscous mouthfeel that lingers pleasantly.
The Deep Dive:
When we look at the macro nutrition, a single crescent roll chicken serving typically contains 250 to 350 calories, with a solid 12 to 15 grams of protein. To boost the fiber, consider serving these alongside a bitter green salad tossed in a citrus vinaigrette.
Dietary Swaps: For a vegan version, use a "naturally vegan" refrigerated dough (check the labels!) and swap the chicken for seasoned jackfruit. For those going Gluten-Free, many specialty brands now offer GF puff pastry which can be substituted using the same techniques.
The Fix-It:
- Soggy Bottoms: If your pastry is wet, you likely used too much sauce. Fix this by pre-toasting your breadcrumbs and sprinkling them on the dough before adding the filling to absorb excess moisture.
- Exploding Seams: This happens when steam cannot escape. Use a tongs or a fork to prick small vent holes in the top of your bundles.
- Uneven Browning: Your oven may have hot spots. Rotate your baking sheet 180 degrees halfway through the timer to ensure a uniform render of the fats.
Meal Prep: To reheat and maintain "day-one" quality, avoid the microwave. Use an air fryer at 350 degrees for 3 minutes or a toaster oven. This reactivates the fats and restores the crisp texture through re-crystallization of the starches.
The Wrap-Up:
There you have it! You are now equipped to turn a simple tube of dough into a culinary masterpiece. These crescent roll chicken recipes are the ultimate "cheat code" for anyone who wants high-impact flavor with minimal stress. Remember to trust your tools—use that saucier for your gravies and your digital scale for consistency. Now, get into that kitchen, crack open a tube, and start creating something delicious!
The Kitchen Table:
Can I make these crescent roll chicken recipes ahead of time?
Yes, you can assemble the rolls up to four hours in advance. Keep them tightly covered with plastic wrap in the refrigerator. This prevents the dough from drying out and ensures the fat remains cold for maximum flakiness during the bake.
How do I prevent the chicken filling from leaking out?
Ensure your filling is thick and viscous rather than watery. Use a fork to firmly crimp the edges of the dough. For extra security, apply a simple egg wash to the seams to act as a protein-based culinary glue.
What is the best way to shred chicken for these recipes?
Use a stand mixer with the paddle attachment on low speed for thirty seconds. This creates a uniform, fine texture that integrates perfectly with binders like cream cheese, ensuring every bite of your crescent roll has a consistent protein distribution.
Can I freeze these after they are baked?
Absolutely. Allow the rolls to cool completely to prevent ice crystal formation. Wrap them individually in foil and store in a freezer bag. Reheat directly from frozen in a 375-degree oven for ten minutes to restore the original texture.