
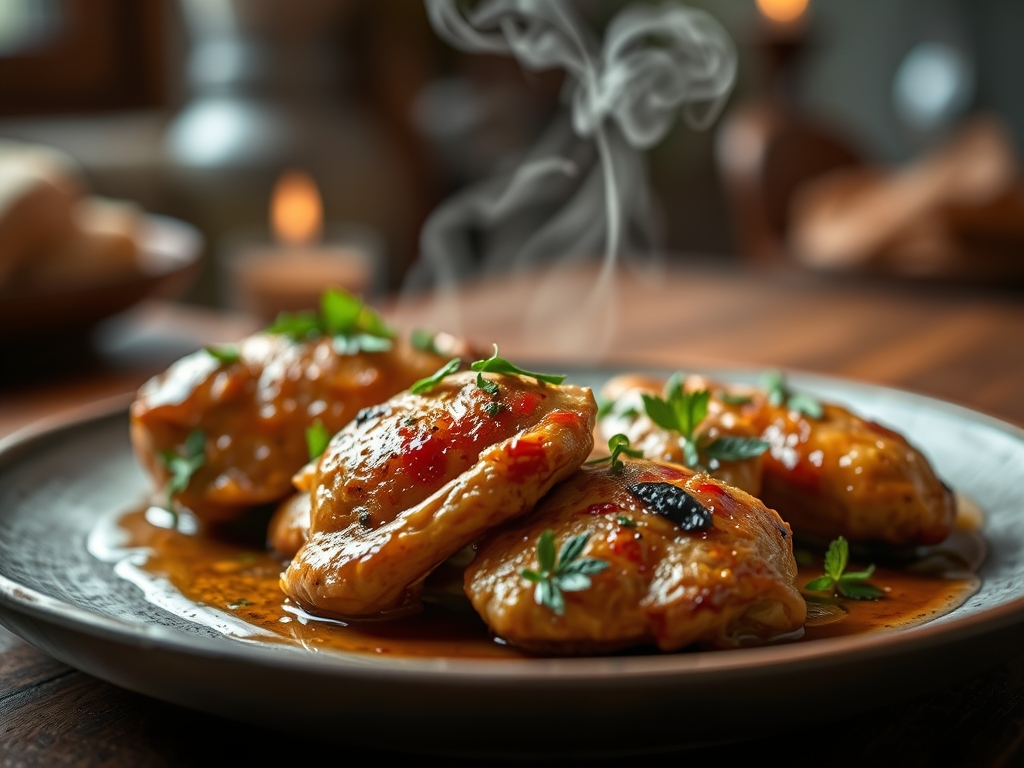
Close your eyes and listen for the sound of a perfect sear; it is a rhythmic, aggressive sizzle that signals the start of something transformative. We are not just making dinner tonight. We are diving into the high-stakes world of million dollar chicken recipes, where a humble bird is elevated through chemistry and technique into a dish worth its weight in gold. You know that specific, glossy sheen found on restaurant plates? That is not magic. It is the result of precise fat emulsification and the Maillard reaction working in tandem.
Most home cooks treat chicken as a blank canvas, but we are going to treat it like a luxury asset. To achieve that "million dollar" status, we have to balance salt, acid, and fat with surgical precision. We are looking for a crust that shatters under a fork while the interior remains succulent and dripping with moisture. This is about more than just a meal; it is about mastering the physics of the kitchen. Grab your favorite heavy-bottomed skillet and let us get to work on the most indulgent chicken you have ever tasted.
The Gathers:
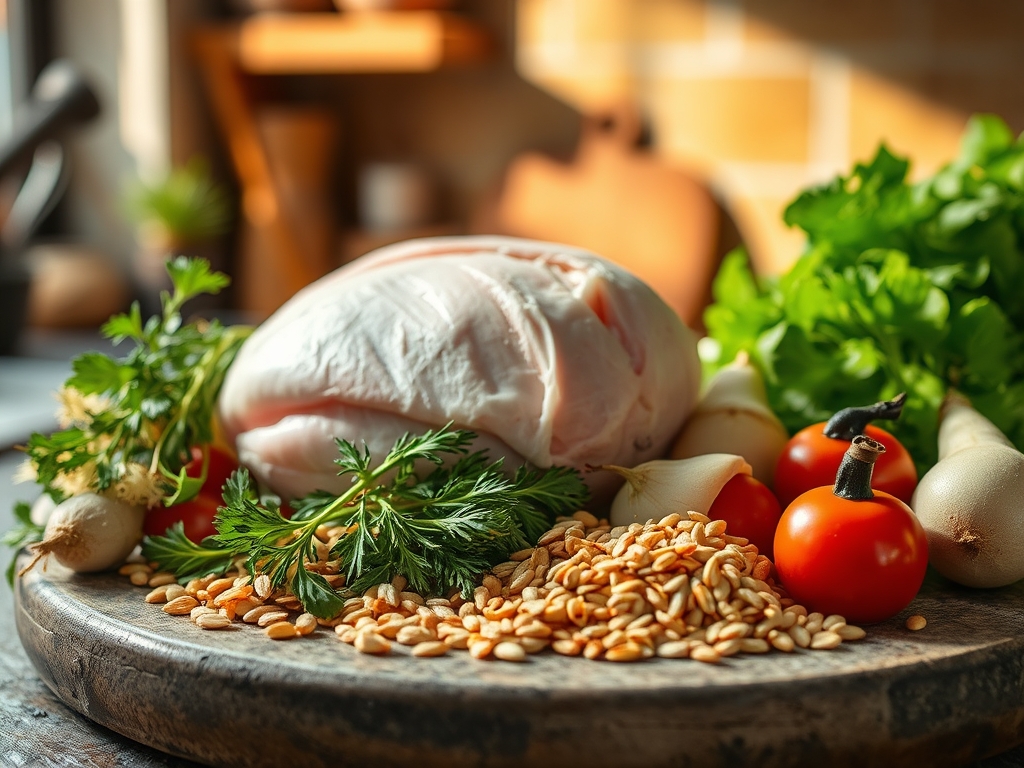
Before we light a single burner, we must respect the mise-en-place. Your workstation should be a study in efficiency. Start with four organic, air-chilled chicken breasts. Air-chilling is vital because it ensures the skin is not waterlogged, allowing for a superior sear. You will need eight ounces of viscous room-temperature cream cheese and a half-cup of high-fat Greek yogurt to provide that signature tangy foundation.
For the aromatic profile, gather four cloves of garlic, which we will process with a microplane to create a fine paste. This increases the surface area, allowing the garlic to infuse the fats more deeply. You will also need sharp cheddar and freshly grated parmesan; the aged proteins in the parmesan provide a deep umami backbone. A handful of scallions and a pinch of smoked paprika will add a piquant finish.
Smart Substitutions:
If you are looking to lighten the profile without sacrificing the "million dollar" mouthfeel, swap the cream cheese for Neufchatel. For those avoiding dairy, a cashew-based cream alternative provides the necessary fat content to maintain the emulsion. If you lack scallions, chives offer a more delicate, onion-forward brightness that cuts through the richness of the cheese.
The Clock
The "Chef's Flow" is all about timing. Total active prep time is approximately 15 minutes, while the thermal transformation in the oven takes 25 to 30 minutes. You should allow for a 10-minute resting period post-cook. This brings your total investment to about 55 minutes.
The flow begins with the "Cold Prep" (mixing your spreads), moves to the "Sear Phase" (locking in juices), and finishes with the "Thermal Ascent" (the bake). By the time the chicken hits the oven, your kitchen should already be clean. Use the baking time to deglaze your skillet or prep a crisp side salad. This ensures that when the chicken is ready, you are ready to eat, not wash dishes.
The Masterclass
1. The Surface Preparation
Pat the chicken dry with paper towels until the surface is completely matte. Season aggressively with kosher salt and cracked black pepper from a height of twelve inches to ensure even distribution.
Pro Tip: This is the beginning of osmosis. Salt draws moisture to the surface; if you wait too long, the surface gets wet. Cook immediately after seasoning or wait 40 minutes for the brine to reabsorb for maximum tenderness.
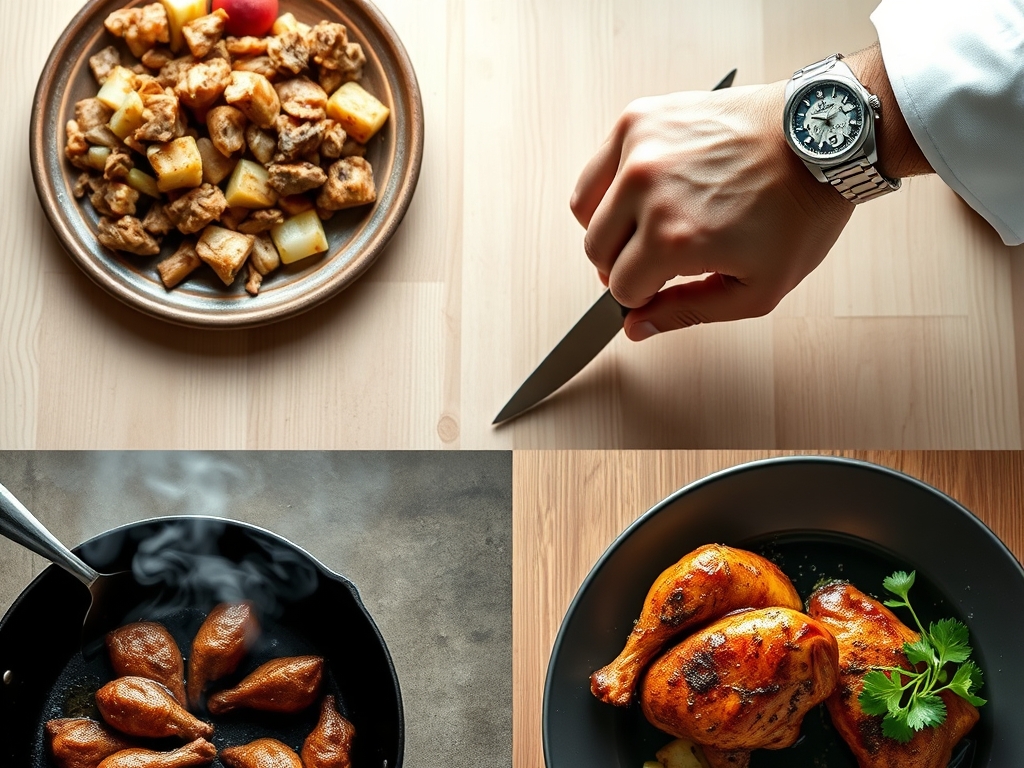
2. The High-Heat Sear
Heat two tablespoons of neutral oil in a heavy-bottomed skillet until it reaches the shimmering point. Use tongs to lay the chicken away from you. Sear for 3 minutes per side until a golden-brown crust forms.
Pro Tip: This is the Maillard reaction. This chemical reaction between amino acids and reducing sugars creates hundreds of different flavor compounds. Do not crowd the pan, or you will drop the temperature and steam the meat instead of searing it.
3. The Emulsion Application
In a small bowl, whisk your cream cheese, yogurt, and spices until they aerate slightly. Spread a generous layer over the seared chicken breasts, followed by a heavy dusting of the grated cheeses.
Pro Tip: The fat in the cheese acts as an insulator. It protects the delicate breast meat from the direct, harsh heat of the oven, ensuring the interior stays juicy while the top undergoes enzymatic browning.
4. The Thermal Finish
Transfer the skillet to a preheated 400-degree oven. Bake until the internal temperature reaches 160 degrees Fahrenheit on a digital scale or meat thermometer.
Pro Tip: We pull the chicken at 160 degrees because of thermal carryover. The internal temperature will continue to rise about 5 degrees while resting, bringing it to the FDA-recommended 165 degrees without drying out the fibers.
5. The Rest and Presentation
Transfer the chicken to a warm plate and let it rest for a full 10 minutes. Use a bench scraper to collect any stray bits of cheese from the pan to use as a garnish.
Pro Tip: Resting allows the muscle fibers to relax and reabsorb the juices. If you cut into it immediately, the liquid will flood the plate, leaving the meat tough and parched.
The Deep Dive
When we look at the macro nutrition of million dollar chicken recipes, we are looking at a high-protein, high-fat profile. A standard serving contains roughly 45g of protein, 28g of fat, and 4g of carbohydrates. It is a powerhouse for satiety.
Dietary Swaps:
For a Keto version, this recipe is already nearly perfect; just ensure your spices contain no added sugars. For Vegan guests, use a thick cauliflower steak as the base and a nutritional yeast-based "cheese" spread. For Gluten-Free needs, simply ensure your spices are certified, as some anti-caking agents contain gluten.
The Fix-It:
- The Topping Slipped Off: This happens if the chicken was too oily. Next time, dab excess grease off the seared chicken before applying the cheese.
- The Meat is Rubbery: You likely overcooked it. Invest in a digital thermometer; even two minutes too long can ruin the texture.
- The Sauce is Broken: If the cheese looks oily and separated, the heat was too high. Lower the oven temp and use "low and slow" logic.
Meal Prep Science:
To reheat, avoid the microwave. It vibrates water molecules too violently, making the chicken "rubbery." Instead, use a toaster oven at 350 degrees. Add a teaspoon of water to the pan and cover with foil to create a mini-steam chamber that restores the original moisture.
The Wrap-Up
You have officially graduated from basic home cooking to culinary engineering. These million dollar chicken recipes are not just about the ingredients; they are about understanding how heat and fat interact to create a sensory masterpiece. Whether you are hosting a formal dinner or just treating yourself after a long week, you now have the technical skills to deliver a plate that looks and tastes like a high-end bistro creation. Remember, the secret is in the sear and the patience of the rest. Now, go forth and cook like a million bucks!
The Kitchen Table
Why is my chicken dry even with the cheese on top?
You likely bypassed the resting phase or overshot the internal temperature. Always pull the chicken at 160 degrees Fahrenheit. The thermal carryover will finish the cooking process while the juices redistribute into the muscle fibers during the rest.
Can I use chicken thighs instead of breasts?
Absolutely. Thighs contain more connective tissue and fat, making them more forgiving. Increase the oven time by about 5 to 8 minutes. The higher fat content in thighs actually enhances the viscous nature of the cheese topping.
How do I get the cheese topping extra bubbly?
Switch your oven to the broiler setting for the final 90 seconds of cooking. Watch it closely through the oven window to prevent burning. This creates a charred, caramelized crust that adds a sophisticated, smoky depth to the dish.
What is the best way to store leftovers?
Store in an airtight glass container for up to three days. Glass is non-porous and won't absorb the garlic aromas. Reheat using the "steam-chamber" method in a toaster oven to maintain the structural integrity of the cheese emulsion.