
Close your eyes and listen for the sound of a heavy-bottomed skillet meeting a high-heat flame; that is the overture to your new favorite dinner. We are diving deep into the world of easy shredded beef recipes, but we are doing it with the precision of a laboratory and the soul of a Sunday roast. Forget those watery, flavorless crockpot disasters that plague your social media feed. We are after that specific, sublime texture where the meat resists just enough before melting into a pool of its own rendered collagen. To get there, we have to respect the muscle fibers and the chemistry of heat. This is not just about filling a taco shell; it is about mastering the art of the slow breakdown. We are going to transform a humble, tough cut of chuck into a versatile masterpiece that anchors your meal prep for the entire week. Grab your apron and your favorite tongs because we are about to turn a simple protein into a culinary event that tastes like it took days to prepare.
The Gathers:
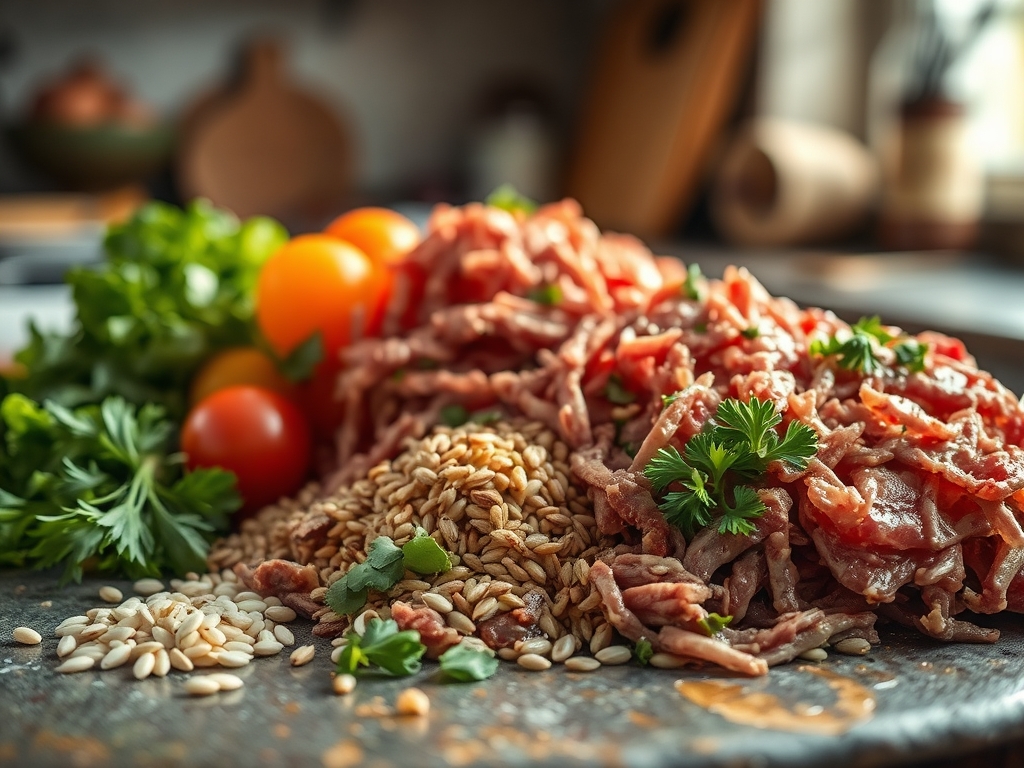
To achieve a result that is both viscous and piquant, your mise-en-place must be intentional. We start with the beef: a three-pound boneless chuck roast. Look for heavy intramuscular marbling; these white flecks are intramuscular fat that will render during the long cook, self-basting the meat from the inside out. You will also need a high-smoke-point oil like avocado or grapeseed to facilitate the Maillard reaction without scorching.
For the aromatic base, gather three cloves of garlic to be crushed with a bench scraper, one large yellow onion for sweetness, and two tablespoons of tomato paste to provide umami depth. The liquid component is critical. Use a high-quality beef bone broth, which contains natural gelatin, ensuring your final sauce is glossy rather than thin.
Smart Substitutions: If you are avoiding nightshades, swap the tomato paste for a teaspoon of balsamic glaze to mimic that acidic depth. If you do not have chuck, a brisket point or a bottom round will work, though the round is leaner and may require an extra tablespoon of tallow or butter to maintain moisture. Always use a digital scale to measure your salt; a 1.5 percent salt-to-weight ratio is the "golden rule" for deep seasoning.
The Clock:
Mastering easy shredded beef recipes requires understanding the "Chef's Flow." Your active prep time is a brisk 20 minutes, focused on searing and deglazing. The passive cooking time is where the magic happens: 3 to 4 hours in a low oven (300 degrees Fahrenheit) or 60 minutes in a high-pressure electric cooker.
The "Chef's Flow" means using your passive time wisely. While the beef is braising, you should be preparing your garnishes or sides. Do not wait until the beef is done to start your slaw or rice. The final 15 minutes of the process are reserved for the "Rest and Shred" phase, which is non-negotiable for moisture retention.
The Masterclass:
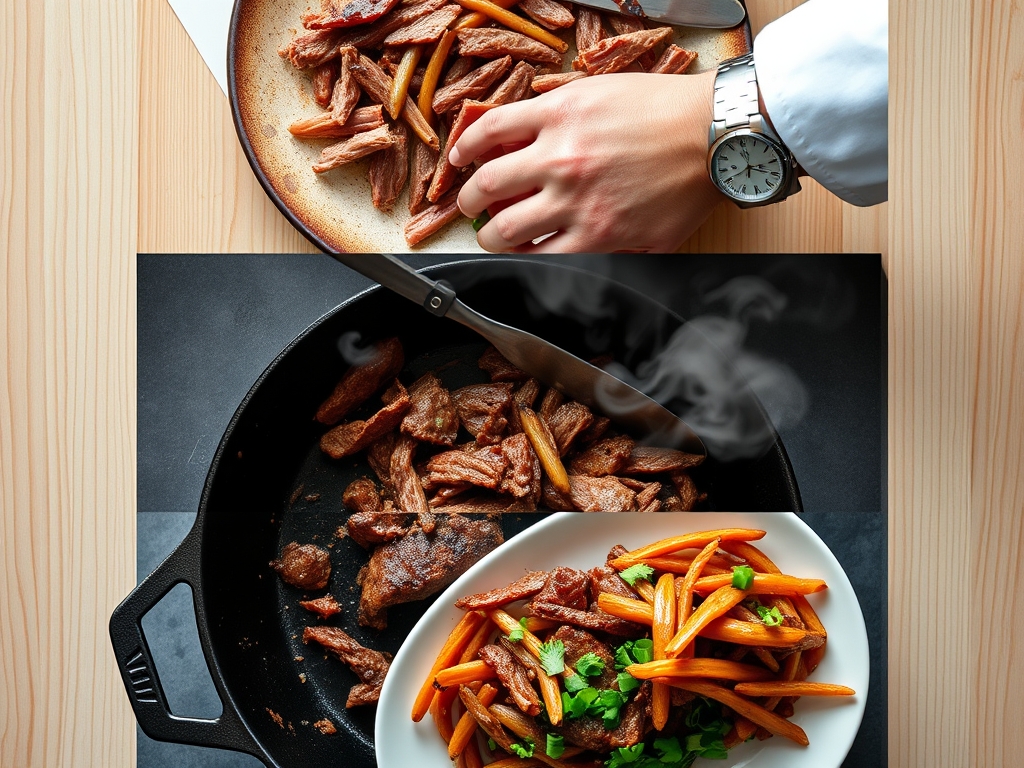
1. The Hard Sear
Pat the beef bone-dry with paper towels to remove surface moisture. Heat your heavy-bottomed skillet until the oil shimmers. Place the beef in the pan and do not move it for four minutes. You are looking for a deep, mahogany crust.
Pro Tip: This is the Maillard reaction, a chemical reaction between amino acids and reducing sugars that creates hundreds of different flavor compounds. If the meat is wet, it will steam instead of sear, robbing you of that savory complexity.
2. Deglaze and Infuse
Remove the beef and add your onions. Once translucent, add the tomato paste and garlic. Pour in a splash of red wine or broth and use a wooden spoon to scrape up the brown bits (the fond) from the bottom of the pan.
Pro Tip: The fond is concentrated flavor. By deglazing, you are lifting those caramelized proteins and incorporating them into the braising liquid, ensuring a cohesive, rich sauce.
3. The Low and Slow Braise
Return the beef to the pot and add enough broth to come halfway up the sides of the meat. Cover tightly with a lid or foil to create a sealed environment. Transfer to the oven.
Pro Tip: This stage is about collagen conversion. At temperatures between 160 and 205 degrees Fahrenheit, tough connective tissue transforms into gelatin. This is what gives shredded beef its succulent, mouth-coating texture.
4. The Carryover Rest
Once the beef is fork-tender, remove it from the liquid and place it on a cutting board. Cover it loosely with foil and let it sit for at least 15 minutes before touching it with a fork.
Pro Tip: This allows for thermal carryover and moisture redistribution. If you shred it immediately, the internal steam escapes, leaving the muscle fibers dry and stringy.
5. The Reduction
While the meat rests, place your braising liquid back on the stove over high heat. Let it bubble until it reduces by half and becomes a thick, syrupy consistency.
Pro Tip: Reducing the liquid concentrates the solutes. By evaporating the water, you are intensifying the salt, acid, and umami, creating a viscous glaze that will cling to every strand of beef.
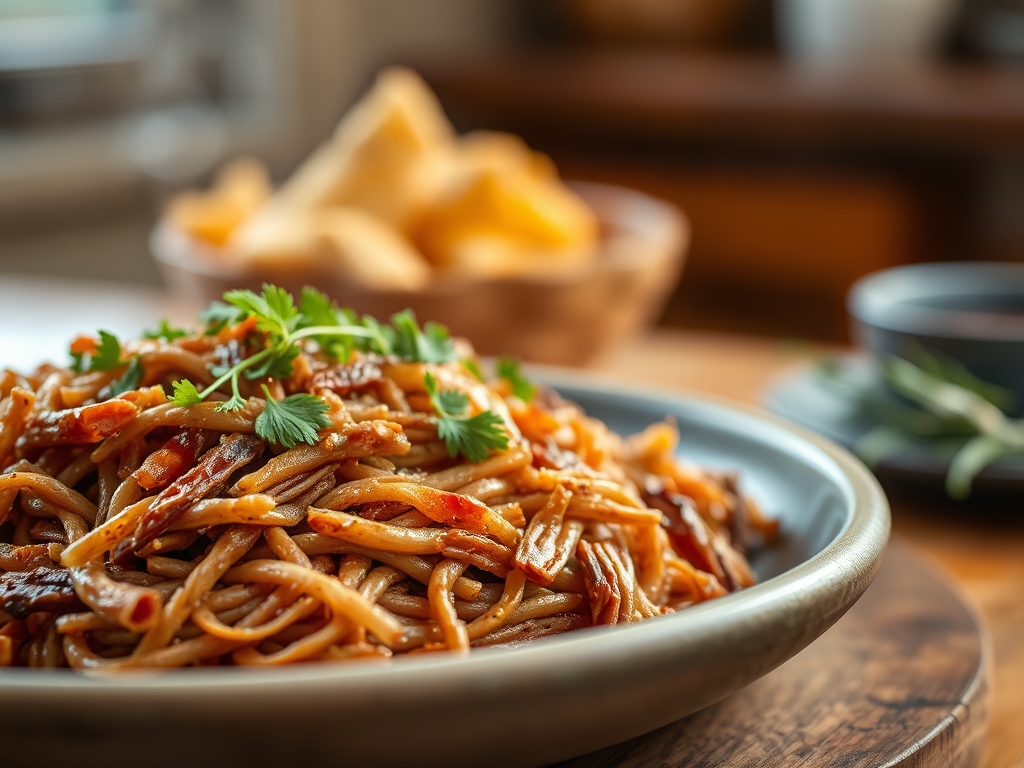
6. The Final Shred
Use two forks or your hands (with gloves) to pull the meat apart into long, thick strands. Toss the shredded beef back into the reduced glaze.
Pro Tip: Shredding increases the surface area of the meat. This allows the fibers to soak up the concentrated sauce like a sponge, ensuring every bite is seasoned to the core.
The Deep Dive:
From a nutritional standpoint, this beef is a powerhouse. A standard four-ounce serving provides roughly 25 grams of protein and is rich in Vitamin B12 and Zinc. For those following a Keto lifestyle, this recipe is naturally low-carb. To make it Vegan, you can apply these same searing and braising techniques to king oyster mushrooms or jackfruit, though the cooking time will drop to 20 minutes. For a Gluten-Free version, simply ensure your beef broth is certified GF.
The Fix-It:
- Tough Meat: If it won't shred, it hasn't cooked long enough. The collagen hasn't melted. Put it back in for 30 minutes.
- Greasy Sauce: Use a wide spoon to skim the "raft" of yellow fat off the top of the liquid before reducing.
- Bland Flavor: You likely under-salted at the start. Add a squeeze of lime or a teaspoon of apple cider vinegar at the end to brighten the heavy fats.
Meal Prep: To maintain "day-one" quality, store the beef in its own juices. When reheating, use a saucier over medium-low heat. Add a tablespoon of water to aerate the sauce and prevent the proteins from tightening up and becoming rubbery.
The Wrap-Up:
You are now armed with the scientific secrets to conquering easy shredded beef recipes like a professional stylist. By focusing on the Maillard reaction, respecting the collagen conversion, and mastering the reduction, you have elevated a basic meal into a technical triumph. This beef is your canvas; use it for tacos, sliders, or even a sophisticated ragu over pappardelle. Now, go forth and sear with confidence!
The Kitchen Table:
What is the best cut for easy shredded beef recipes?
The beef chuck roast is the gold standard. Its high fat and collagen content ensure the meat remains moist and tender during the long breakdown process required for perfect shredding.
Why is my shredded beef dry?
Dryness usually occurs if you skip the searing step or shred the meat while it is too hot. Always let the beef rest to allow the juices to redistribute back into the fibers.
Can I overcook shredded beef?
Yes. If left in the heat too long, the muscle fibers will eventually lose all structural integrity and turn into a mushy, unappealing texture. Stop when it pulls apart with minimal resistance.
How do I make the sauce thicker?
The best way is to reduce the braising liquid on the stovetop after removing the meat. This evaporates excess water and concentrates the natural gelatins for a glossy, thick finish.