
Close your eyes and imagine the scent of woodsmoke mingling with the deep, caramelized aroma of roasting fat. There is a specific kind of magic that happens when a tough, unyielding cut of meat transforms into velvet under the influence of heat and time. When searching for the ultimate bbq pulled beef recipes, you are not just looking for a meal; you are looking for a masterpiece of chemistry. It is the perfect marriage of salt, acid, and fire that turns a simple Sunday dinner into a legendary kitchen event.
The secret to that fork-tender finish lies in the breakdown of connective tissue, specifically the transformation of tough collagen into silky gelatin. This process requires patience and a bit of scientific intuition. We are going to bypass the dry, stringy results of amateur attempts and dive straight into the professional techniques that make your kitchen smell like a high-end smokehouse. Whether you are feeding a crowd or prepping for a week of gourmet sandwiches, mastering these nuances will elevate your cooking from basic to brilliant. Grab your apron and a glass of wine; we are about to turn a humble chuck roast into pure gold.
The Gathers:
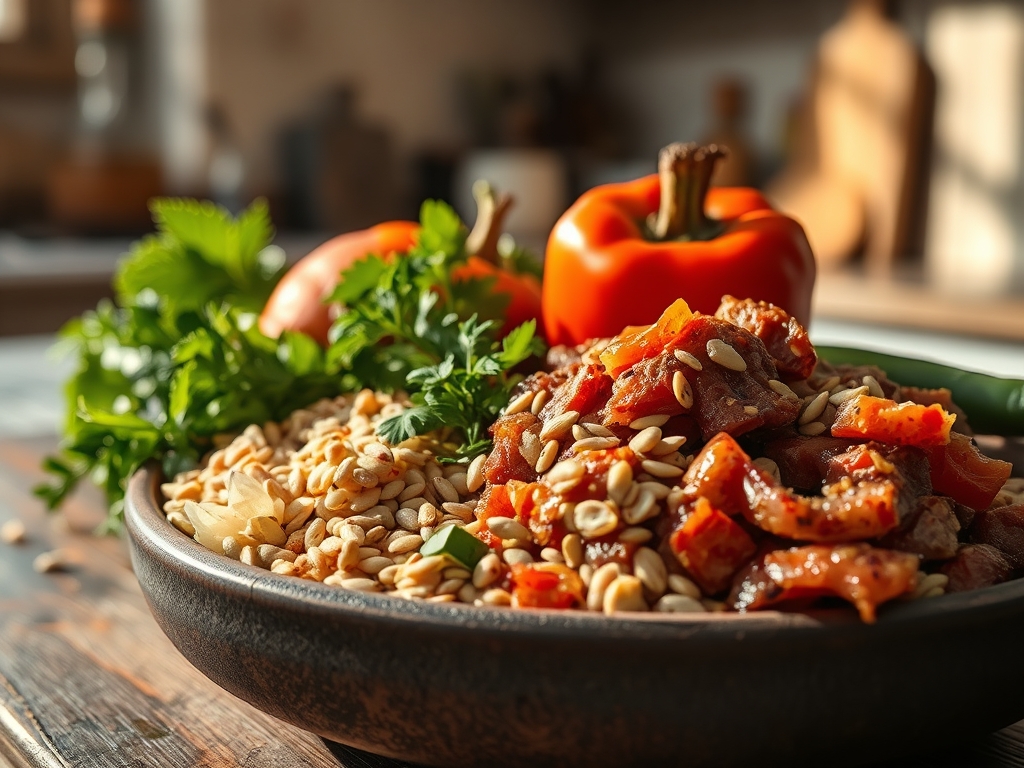
To achieve the depth of flavor found in elite bbq pulled beef recipes, your mise-en-place must be intentional. We start with the Chuck Roast, specifically looking for high intramuscular fat, also known as marbling. This is the fuel for our flavor engine. You will need a digital scale to measure your dry rub precisely, ensuring a consistent salt-to-sugar ratio. Our spice profile includes smoked paprika for that piquant earthiness, dark brown sugar to encourage the Maillard reaction, and garlic powder for an umami backbone.
For the braising liquid, gather high-quality beef bone broth, apple cider vinegar to provide a bright acidic counterpoint, and Worcestershire sauce for its fermented complexity. Use a microplane to zest fresh garlic and onions into a paste; this increases the surface area for flavor infusion. If you are looking for Smart Substitutions, swap the brown sugar for coconut sugar to lower the glycemic index, or use liquid smoke if you are working indoors without a traditional wood-burning offset smoker. If you lack a chuck roast, a brisket flat or beef round can work, though they require a more watchful eye to prevent desiccation due to their lower fat content.
The Clock
Efficiency in the kitchen is about mastering the Chef's Flow. This is not a thirty-minute meal; it is a slow-motion transformation. Your active prep time is approximately 30 minutes, which includes trimming excess hard fat and applying the dry rub. The passive cook time ranges from 6 to 10 hours depending on your heat source.
The flow begins with the "Cold Start," where you season the meat and let it temper at room temperature for 45 minutes. This prevents thermal shock when the meat hits the heavy-bottomed skillet. Next comes the "Hard Sear" (15 minutes), followed by the "Long Low" (the slow cook phase). Finally, the "Rest and Shred" phase takes 30 minutes. Never rush the rest; it is the most critical window for moisture retention.

The Masterclass
1. The Salt Brine and Temper
Generously coat your beef in a kosher salt-based rub. Allow it to sit uncovered in the refrigerator for at least four hours or on the counter for 45 minutes.
Pro Tip: This process, known as dry brining, allows salt to penetrate the muscle fibers via osmosis, denaturing the proteins so they can hold more water during the cook.
2. The Maillard Sear
Heat a heavy-bottomed skillet or Dutch oven until it reaches the smoke point. Sear the beef on all sides until a dark, mahogany crust forms.
Pro Tip: This is the Maillard reaction, a chemical reaction between amino acids and reducing sugars that creates hundreds of different flavor compounds you simply cannot get from boiling or steaming.
3. Deglazing the Fond
Remove the meat and pour in your acidic liquid (vinegar or wine). Use a bench scraper or wooden spoon to lift the brown bits from the bottom of the pan.
Pro Tip: Those bits, called fond, are concentrated essences of beef and spice; deglazing incorporates them back into the sauce for a more viscous and complex mouthfeel.
4. The Low and Slow Braise
Place the beef in your slow cooker or Dutch oven with the braising liquid, ensuring it is only halfway submerged. Cover tightly.
Pro Tip: Maintaining a temperature between 190 and 205 degrees Fahrenheit is the "sweet spot" where collagen melts into gelatin without the muscle fibers becoming overly constricted and dry.
5. The Stall Management
If smoking, you may notice the internal temperature stops rising around 160 degrees. This is the "stall," caused by evaporative cooling.
Pro Tip: Wrap the beef in butcher paper or foil (the "Texas Crutch") to trap heat and moisture, effectively powering through the stall and accelerating the render of stubborn fats.
6. The Carryover Rest
Once the beef reaches an internal temperature of 202 degrees, remove it from the heat and let it sit, covered, for at least 30 minutes.
Pro Tip: This allows for thermal carryover, where the internal temperature continues to rise slightly while the pressure inside the meat stabilizes, preventing the juices from rushing out when you first cut into it.
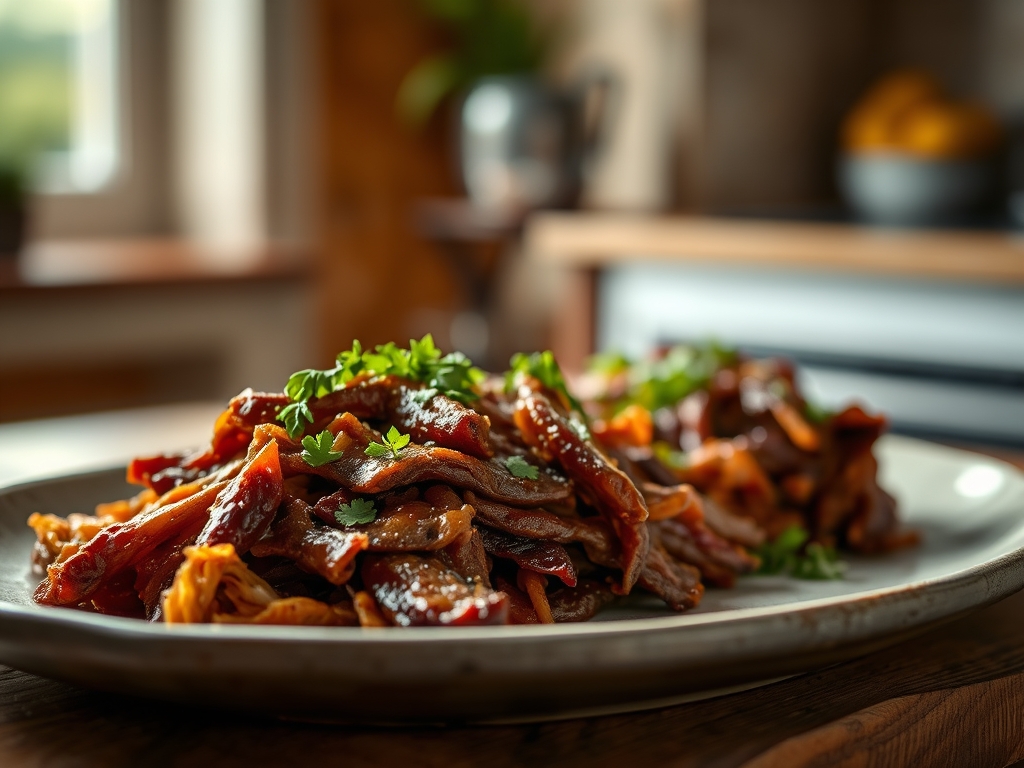
7. The Shred and Emulsify
Use two forks or meat claws to pull the beef into strands. Return the shredded meat to the pot and toss it with the reduced cooking juices.
Pro Tip: The gelatin-rich liquid will emulsify with the remaining fats, coating every strand of beef in a glossy, flavor-packed lacquer.
The Deep Dive
From a Macro Nutrition perspective, bbq pulled beef is a protein powerhouse, typically yielding about 25g of protein per 4-ounce serving. However, it is high in saturated fats, so balance your plate with fibrous greens. For Dietary Swaps, keto followers should omit the sugar in the rub and use a stevia-sweetened BBQ sauce. Vegans can replicate the texture using young green jackfruit or king oyster mushrooms, though the cooking time will be significantly reduced to about 20 minutes.
The Fix-It: Pitfalls and Solutions
- The Beef is Tough: You likely pulled it too early. If the collagen hasn't melted, it stays rubbery. Fix: Put it back in and keep simmering; it is almost impossible to "overcook" chuck in liquid until it literally disintegrates.
- The Sauce is Greasy: Too much fat rendered into the braising liquid. Fix: Use a saucier to reduce the liquid, then use a fat separator or a chilled spoon to skim the surface.
- The Flavor is Flat: It needs acid. Fix: Stir in a tablespoon of apple cider vinegar or a squeeze of lime just before serving to brighten the heavy fats.
Meal Prep and Reheating
To maintain "day-one" quality, store the beef in its own juices. When reheating, avoid the microwave, which can turn the proteins rubbery. Instead, use a small saucepan over low heat with a splash of broth to aerate the sauce and gently loosen the fats.
The Wrap-Up
Mastering bbq pulled beef recipes is about more than just following a list of ingredients; it is about understanding the physics of the kitchen. By controlling the sear, managing the braise, and respecting the rest, you create a dish that is soulful, sophisticated, and deeply satisfying. You now have the technical prowess to turn a budget-friendly cut of meat into a five-star experience. Go ahead, show off those skills and watch your friends marvel at the tender, smoky perfection you have created.
The Kitchen Table
What is the best cut for pulled beef?
The beef chuck roast is the gold standard. It contains the perfect ratio of fat and collagen, which breaks down during the slow cooking process to create a moist, tender texture that is easy to shred.
Can I make this in a pressure cooker?
Yes, you can use an Instant Pot. High pressure accelerates the breakdown of connective tissue, reducing the cook time to about 60 to 90 minutes. However, you may lose some of the depth found in a slow braise.
Why is my pulled beef dry?
Dryness usually occurs if the meat was cooked at too high a temperature or if it wasn't allowed to rest. Without a rest period, the internal juices escape immediately upon shredding, leaving the fibers parched.
How do I get a smoky flavor without a smoker?
Use high-quality smoked paprika in your rub and add a few drops of liquid smoke to your braising liquid. Searing the meat until it is dark and crusty also provides a charred, smoky depth.