
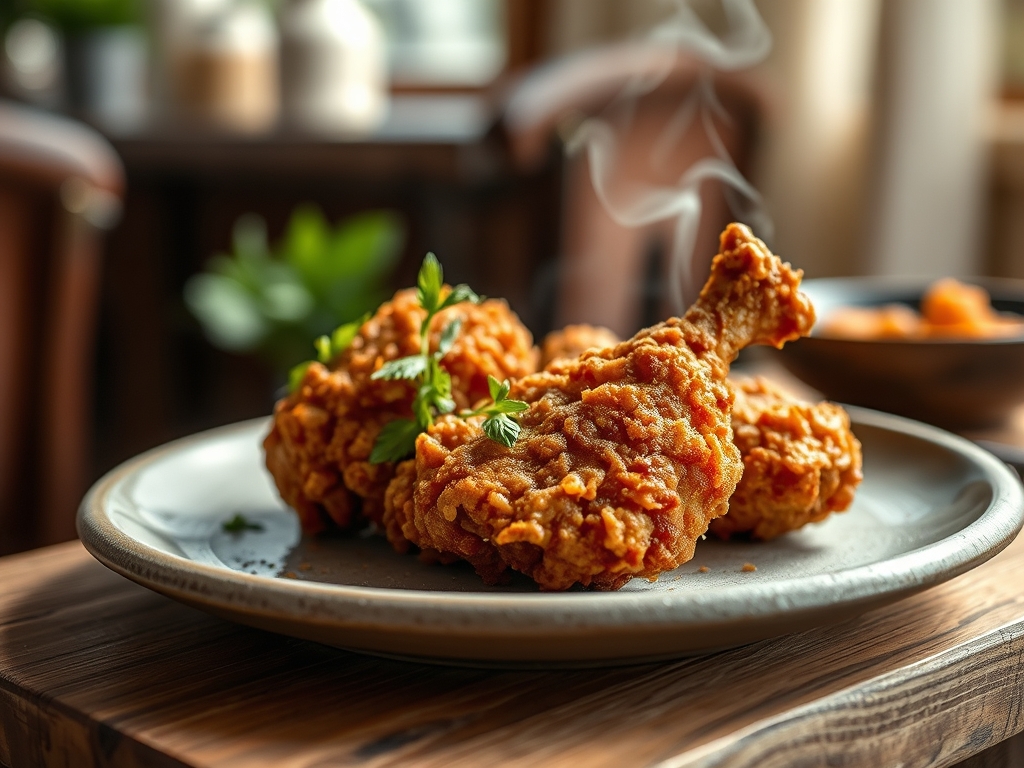
Listen for that sound. It is a violent, rhythmic sizzle that signals the exact moment cold protein meets shimmering oil. When you master the best deep fried chicken recipes, you are not just cooking; you are orchestrating a complex chemical transformation. We are chasing that perfect, glass-like crunch that shatters against a succulent, steam-kissed interior.
The secret to a world-class bird is not a hidden spice blend from a secret vault. It is a rigorous adherence to thermal physics and moisture management. We are talking about the Maillard reaction, the precise point where amino acids and reducing sugars dance to create those deep, savory flavor compounds. To get there, you need to treat your kitchen like a laboratory and your ingredients like precious cargo. Forget the soggy, oil-logged disappointments of your past. We are going to build a crust so structurally sound it could withstand a gale, all while keeping the meat underneath impossibly tender. Grab your apron and your digital scale; we are about to turn your kitchen into the ultimate temple of fry.
The Gathers:
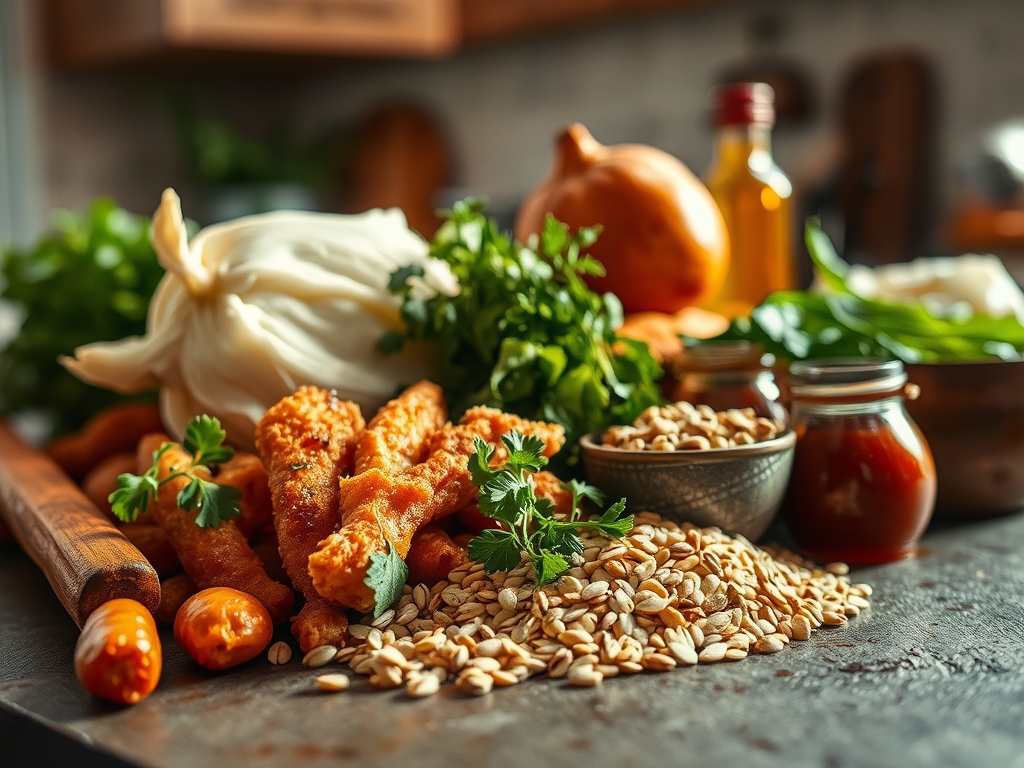
Your mise-en-place is the foundation of your success. Start with high-quality chicken thighs or drumsticks; the higher fat content ensures the meat remains viscous and juicy under high heat. You will need a heavy-bottomed skillet or a Dutch oven to maintain thermal mass. For the dry dredge, use a blend of all-purpose flour and cornstarch. This mixture reduces gluten development, ensuring a crisp rather than chewy exterior.
Your spice cabinet is your paint palette. You need smoked paprika for color, garlic powder for depth, and a piquant hit of cayenne or white pepper. Do not forget the buttermilk. The lactic acid in buttermilk acts as a gentle brine, breaking down tough muscle fibers through enzymatic action.
Smart Substitutions: If you are out of buttermilk, whisk whole milk with a tablespoon of lemon juice or white vinegar and let it sit for ten minutes to curdle. This mimics the acidity needed for tenderization. For a lighter crust, substitute half of the flour with rice flour. It absorbs less oil and provides a delicate, shatter-effect crunch. Always use a neutral oil with a high smoke point, such as peanut or grapeseed oil, to avoid acrid flavors.
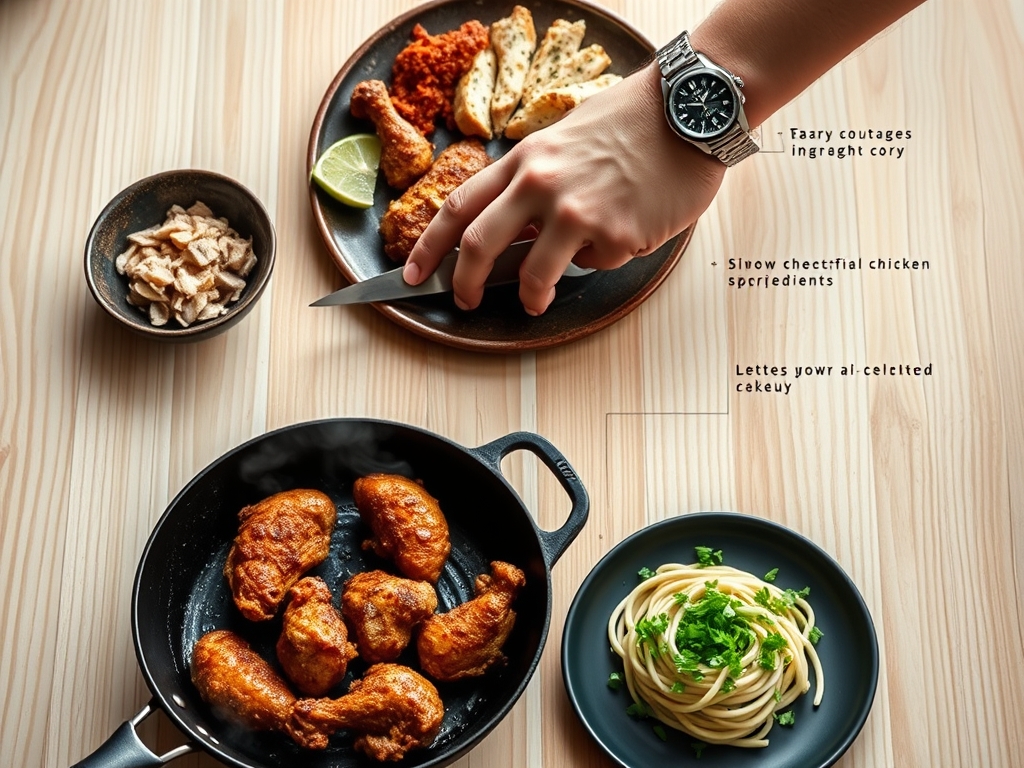
The Clock
Efficiency in the kitchen is about the Chef's Flow. This is the art of overlapping tasks so no time is wasted. Your total active prep time will be about 30 minutes, but the passive time is where the magic happens.
- The Brine (2 to 24 hours): This is non-negotiable. The salt and acid need time to penetrate the cellular structure of the meat.
- The Temper (30 minutes): Bringing your chicken to room temperature before frying prevents the oil temperature from crashing.
- The Dredge (15 minutes): Coating and resting the chicken allows the flour to hydrate, creating a "glue" that prevents the crust from falling off.
- The Fry (12 to 15 minutes per batch): This depends on the cut of the meat.
- The Rest (10 minutes): Essential for moisture redistribution.
The Masterclass
1. The Acidic Soak
Submerge your chicken in a seasoned buttermilk bath. Use your microplane to zest in a bit of lemon or grate a clove of garlic directly into the liquid. This ensures the aromatics infuse every millimeter of the protein.
Pro Tip: This stage utilizes enzymatic tenderization. The lactic acid weakens the collagen in the chicken, ensuring that even after the high-heat shock of frying, the meat remains buttery and soft.
2. The Double Dredge Technique
Whisk your dry ingredients in a large bowl. Take a piece of chicken from the buttermilk, drop it into the flour, coat it, dip it back into the buttermilk, and hit the flour one last time. Use a bench scraper to keep your workstation tidy as you move through the batches.
Pro Tip: This creates a multi-layered protein matrix. The second dip adds extra surface area, which leads to more "nooks and crannies" for the oil to crisp up, maximizing the Maillard reaction.
3. The Hydration Rest
Place your coated chicken on a wire rack for at least 15 minutes before frying. You will notice the flour starts to look "pasty." This is exactly what you want.
Pro Tip: This allows for starch hydration. If you fry immediately, the dry flour will slough off in the oil. Resting ensures the coating chemically bonds to the skin, preventing the dreaded "skin slip."
4. Thermal Precision
Heat your oil to exactly 350 degrees Fahrenheit. Use a digital probe thermometer to monitor this. If the oil is too cold, the chicken will absorb grease; if it is too hot, the outside will burn before the inside is safe to eat.
Pro Tip: Use a heavy-bottomed skillet to prevent temperature fluctuations. The high thermal mass of cast iron or heavy steel helps the oil recover its temperature quickly after the cold chicken is added.
5. The Gentle Render
Place the chicken in the oil using tongs, laying the pieces away from you to avoid splashes. Do not overcrowd the pan. The chicken should sizzle vigorously as the moisture evaporates.
Pro Tip: This stage is all about moisture displacement. As the water in the chicken turns to steam, it creates a barrier that prevents oil from soaking into the meat, effectively "steam-cooking" the interior while the exterior dehydrates into a crust.
6. The Carryover Finish
Remove the chicken when it hits an internal temperature of 160 degrees Fahrenheit. Place it on a clean wire rack, not paper towels. Paper towels trap steam, which will turn your beautiful crust soggy in seconds.
Pro Tip: Thermal carryover will bring the internal temperature up to the safe 165-degree mark while the chicken rests. This prevents overcooking and ensures the juices stay locked within the muscle fibers.
The Deep Dive
Macro Nutrition: Deep fried chicken is a high-protein, high-fat indulgence. A standard thigh contains approximately 280 calories, 18g of fat, and 25g of protein. To balance the meal, serve it with a bright, acidic slaw to cut through the richness.
Dietary Swaps:
- Keto: Replace flour with crushed pork rinds and parmesan cheese. Use heavy cream and egg for the wash.
- Gluten-Free: Use a 1:1 ratio of white rice flour and potato starch. This actually results in an even crispier texture than wheat flour.
- Vegan: Use oyster mushrooms or firm tofu pressed for 2 hours. Swap buttermilk for soy milk mixed with apple cider vinegar.
The Fix-It:
- The Crust is Falling Off: You skipped the hydration rest. Next time, let the dredged chicken sit until the flour looks damp.
- The Chicken is Bloody at the Bone: Your oil was too hot. The outside browned before the heat could penetrate the core. Lower the heat and use a thermometer.
- The Coating is Greasy: Your oil was too cold. If the oil drops below 325 degrees, the "steam barrier" fails and the fat soaks into the breading.
Meal Prep & Reheating: To maintain "day-one" quality, never use a microwave. Reheat leftover chicken in a 375-degree oven or air fryer for 5 to 8 minutes. This re-activates the fats in the crust, crisping it back up without drying out the meat.
The Wrap-Up
Mastering deep fried chicken recipes is a rite of passage for any serious home cook. It requires patience, precision, and a little bit of scientific curiosity. By controlling your temperatures and understanding the chemistry of your dredge, you can produce results that rival the best professional kitchens. Remember to keep your oil clean, your chicken tempered, and your confidence high. Now, go forth and create the crunch of your dreams!
The Kitchen Table
Why is my fried chicken tough?
Toughness usually results from overcooking or skipping the buttermilk soak. The acid in buttermilk breaks down proteins, ensuring tenderness. Always use a meat thermometer to pull the chicken at 160 degrees Fahrenheit to account for carryover cooking.
What is the best oil for frying?
Peanut oil is the gold standard due to its high smoke point and neutral flavor. If allergies are a concern, grapeseed or canola oil are excellent alternatives that can handle the 350-degree heat without breaking down or smoking.
How do I keep the breading from falling off?
The secret is the "hydration rest." After dredging the chicken in flour, let it sit on a wire rack for 15 minutes. This allows the moisture to bind the flour into a cohesive coating that sticks during frying.
Can I fry chicken in a regular pot?
Yes, but a heavy-bottomed Dutch oven or cast iron skillet is better. These vessels hold heat more effectively, preventing the oil temperature from dropping too low when you add the chicken, which ensures a non-greasy finish.