
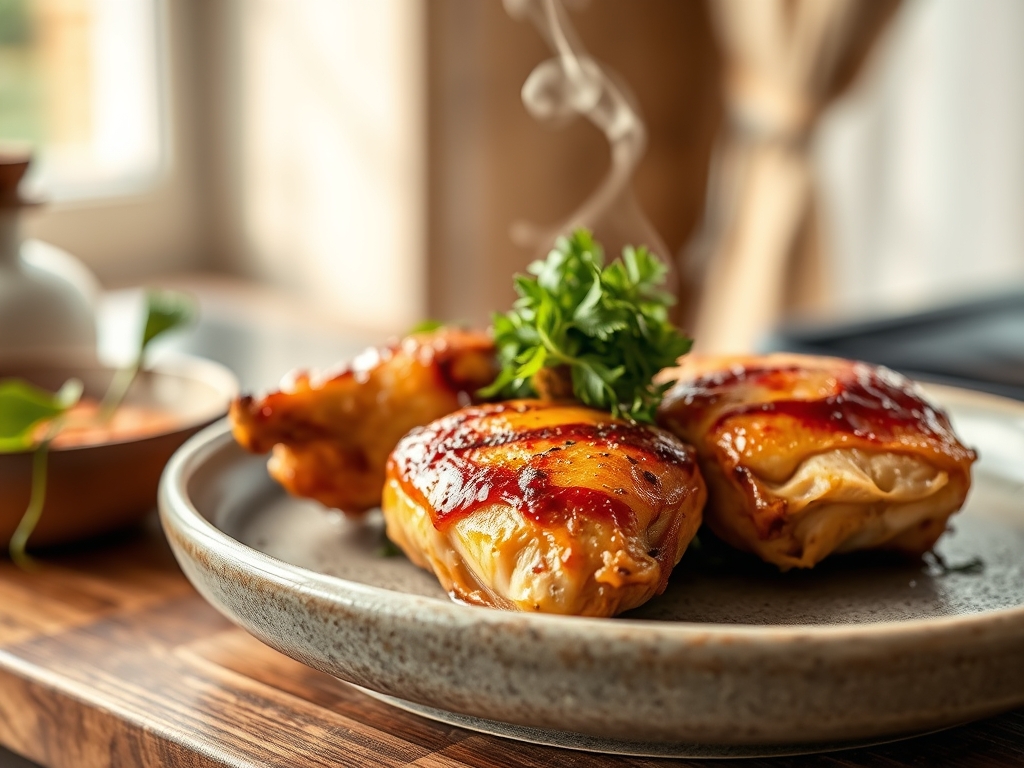
Imagine the sound of a heavy-bottomed stainless steel skillet meeting a high-heat flame; the rhythmic scrape of a bench scraper against a wooden board; and that first, intoxicating puff of garlic hitting shimmering oil. We have all been there, staring at a pack of poultry while our brains feel like fried circuits. You need easy chicken recipes with little ingredients that actually taste like a five-star bistro meal.
The secret to culinary magic is not a pantry overflowing with rare spices; it is the strategic use of heat and high-quality fats. We are stripping away the fluff to focus on the chemistry of flavor. Whether you are craving a piquant lemon glaze or a rich, herb-infused sear, these eight methods prove that simplicity is the ultimate sophistication. By mastering the Maillard reaction and heat distribution, you can transform three or four humble components into a masterpiece that feels intentional, not lazy. Let us turn your kitchen into a laboratory of deliciousness where the barrier to entry is low, but the rewards are incredibly high.
The Gathers:
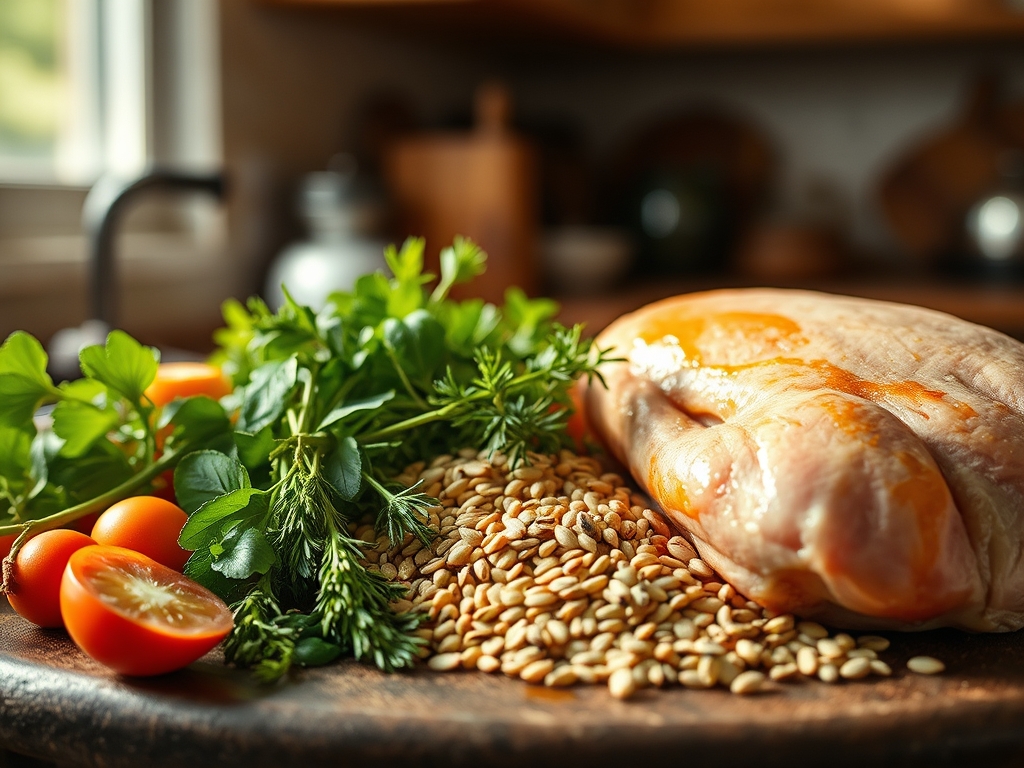
To execute these easy chicken recipes with little ingredients, your mise-en-place must be precise. Start with high-moisture proteins like organic thighs or breasts, ensuring they are patted dry with lint-free towels to prevent steam-shielding. You will need a viscous fat source, such as cold-pressed olive oil or clarified butter (ghee), which has a higher smoke point than standard butter.
Essential aromatics include fresh cloves of garlic, sprigs of woody rosemary, or a bright, acidic lemon. For seasoning, skip the table salt and reach for flaky sea salt and freshly cracked peppercorns. The coarse texture of the salt helps create a physical crust through dehydration of the surface proteins.
Smart Substitutions:
If you lack fresh citrus, a splash of high-quality white wine vinegar provides the necessary acidity to brighten heavy fats. No fresh herbs? Use a concentrated pesto or a dry rub, but hydrate it in oil first to prevent the spices from scorching. If you are out of garlic, a microplaned shallot offers a more delicate, sweet profile that caramelizes beautifully.
The Clock:
Efficiency in the kitchen relies on "Chef's Flow," the art of overlapping tasks to minimize downtime. For these recipes, expect a prep time of exactly 10 minutes and a cook time ranging from 12 to 20 minutes.
The flow begins with the "Pre-Heat Phase," where your skillet reaches the leidenfrost point while you season the meat. While the chicken undergoes its initial sear (the "Passive Phase"), you utilize those 5 to 7 minutes to prepare your finishing glaze or side greens. This prevents the "bottleneck effect" often found in complex recipes. By the time the internal temperature reaches its target, your workspace is already clean, leaving only the final rest period before service.
The Masterclass:
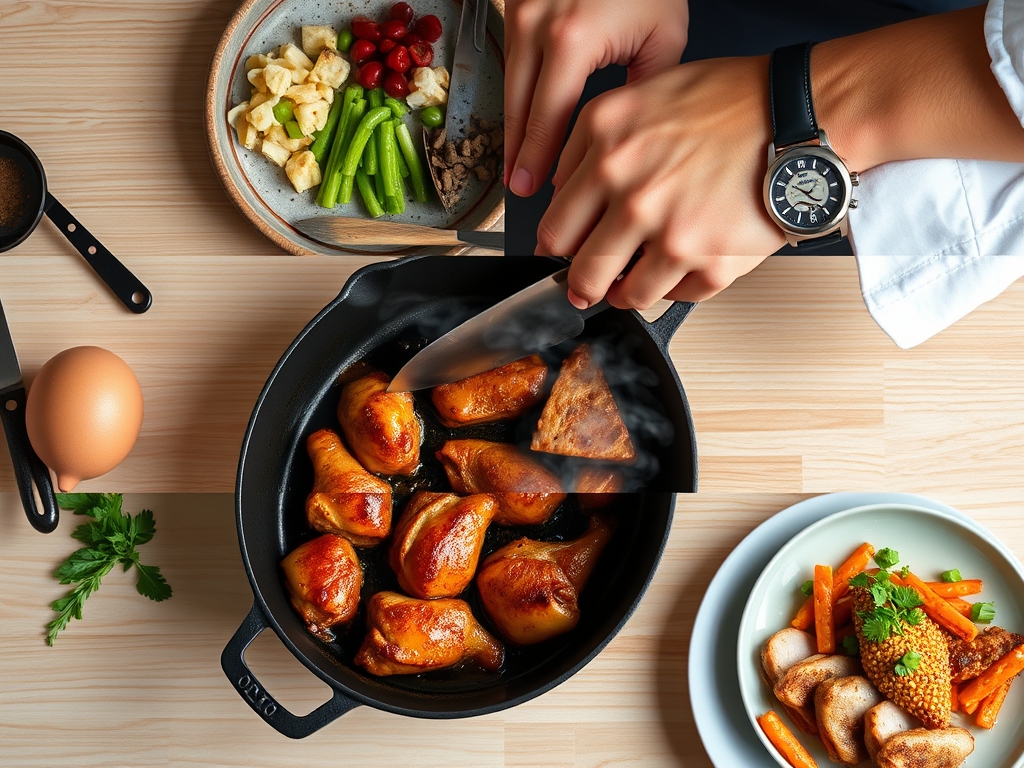
1. The Perfect Sear
Place your seasoned chicken skin-side down in a pre-heated heavy-bottomed skillet. Use your tongs to press the meat firmly against the surface to maximize contact.
Pro Tip: This facilitates the Maillard reaction, a chemical reaction between amino acids and reducing sugars that creates the brown, savory crust. Do not move the meat until it naturally releases from the pan.
2. Deglazing for Depth
Once the chicken is removed, you will see brown bits stuck to the pan. Pour in a half-cup of chicken stock or white wine and scrape the bottom with a wooden spoon.
Pro Tip: This process, called deglazing, captures the "fond," which is a concentrated essence of flavor. It creates a pan sauce without requiring extra ingredients.
3. Emulsifying the Sauce
Lower the heat and whisk in a cold pat of butter or a spoonful of heavy cream into your deglazed liquid until it becomes glossy and thick.
Pro Tip: This is emulsification, where fat is suspended in water-based liquid. Cold fat works best because it melts slowly, allowing the proteins to bond without breaking the sauce.
4. The Aromatics Infusion
Add crushed garlic or herbs during the last three minutes of cooking, spooning the hot fat over the chicken repeatedly.
Pro Tip: This technique, known as basting, uses fat as a vehicle for fat-soluble flavor compounds. It ensures the aromatics infuse the meat without burning into bitter charcoal.
5. Managing Thermal Carryover
Remove the chicken from the heat when the digital scale or meat thermometer reads 160 degrees Fahrenheit, even though the target is 165.
Pro Tip: Thermal carryover means the internal temperature will continue to rise by 5 degrees while resting. Pulling it early prevents the muscle fibers from tightening and squeezing out moisture.
6. Acidic Brightening
Just before serving, use a microplane to zest a lemon over the dish or add a teaspoon of capers.
Pro Tip: Acid acts as a flavor enhancer by balancing the richness of the fats and stimulating salivary glands, which makes the savory notes feel more vibrant on the palate.
7. Resting for Succulence
Allow the chicken to rest on a warm plate for at least five minutes before slicing into it.
Pro Tip: Resting allows the internal juices to redistribute. If you cut it immediately, the high-pressure steam inside will force the moisture out, leaving the meat dry.
8. The Texture Finish
Top the dish with a sprinkle of toasted nuts or a pinch of flaky salt for a final crunch.
Pro Tip: Contrast in texture, or mouthfeel, is a psychological component of satiety. The crunch signals to the brain that the food is fresh and complex.
The Deep Dive:
Macro Nutrition: These meals are protein-dense, typically providing 35 to 45 grams of protein per serving with minimal carbohydrates. By controlling the fats (using olive oil over lard), you keep the heart-healthy unsaturated fats high.
Dietary Swaps: For a Keto version, focus on skin-on thighs and butter-based sauces. For Vegan "chicken" substitutes, use the same searing techniques on oyster mushrooms or pressed tofu. To keep it Gluten-Free, ensure your stock is certified and avoid using flour as a thickener; use a reduction method instead.
The Fix-It:
- The Burned Fond: If your pan bits turn black, do not deglaze. It will be bitter. Wipe the pan and start the sauce fresh.
- Rubberiness: This usually means the chicken was cooked too fast at too high a temperature. Lower the heat and use a lid to trap steam for the final minutes.
- Blandness: If it tastes flat, it usually lacks acid, not salt. Add a squeeze of lemon or a drop of vinegar.
Meal Prep Science: To reheat without that "leftover" taste, avoid the microwave. Reheat in a saucier with a tablespoon of water or stock over medium heat. This creates a steam-jacket effect that rehydrates the proteins rather than vibrating the water molecules into oblivion.
The Wrap-Up:
You are now equipped with the technical prowess to turn a few simple ingredients into a culinary event. Cooking is not about following a rigid script; it is about understanding how heat, fat, and acid interact to create something greater than the sum of its parts. These easy chicken recipes with little ingredients are your foundation. Go forth, use your tongs with confidence, and remember that the best meals are often the ones that let the ingredients speak for themselves. You have got this, Chef!
The Kitchen Table:
How do I keep chicken breast from drying out?
Use a digital thermometer to pull the meat at 160 degrees. Let it rest for five minutes so the fibers reabsorb moisture. This utilizes thermal carryover to reach a safe 165 degrees without overcooking the delicate proteins.
Can I use frozen chicken for these recipes?
Yes, but you must thaw it completely in the refrigerator first. Excess ice crystals cause "steam-locking," which prevents the Maillard reaction. Always pat the surface completely dry before it touches the hot oil in your skillet.
What is the best pan for searing chicken?
A heavy-bottomed stainless steel or cast iron skillet is superior. These materials have high heat retention, meaning the temperature won't drop when the cold meat hits the pan, ensuring a consistent, golden-brown crust every single time.
Why does my garlic always burn?
Garlic has a high sugar content and low water mass, causing it to scorch quickly. Always add your aromatics during the final few minutes of cooking or "bathe" them in oil to buffer the direct heat of the pan.